|
| |
|
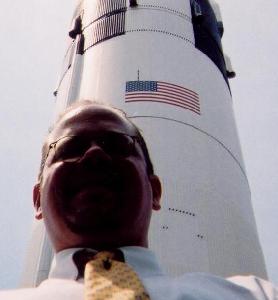
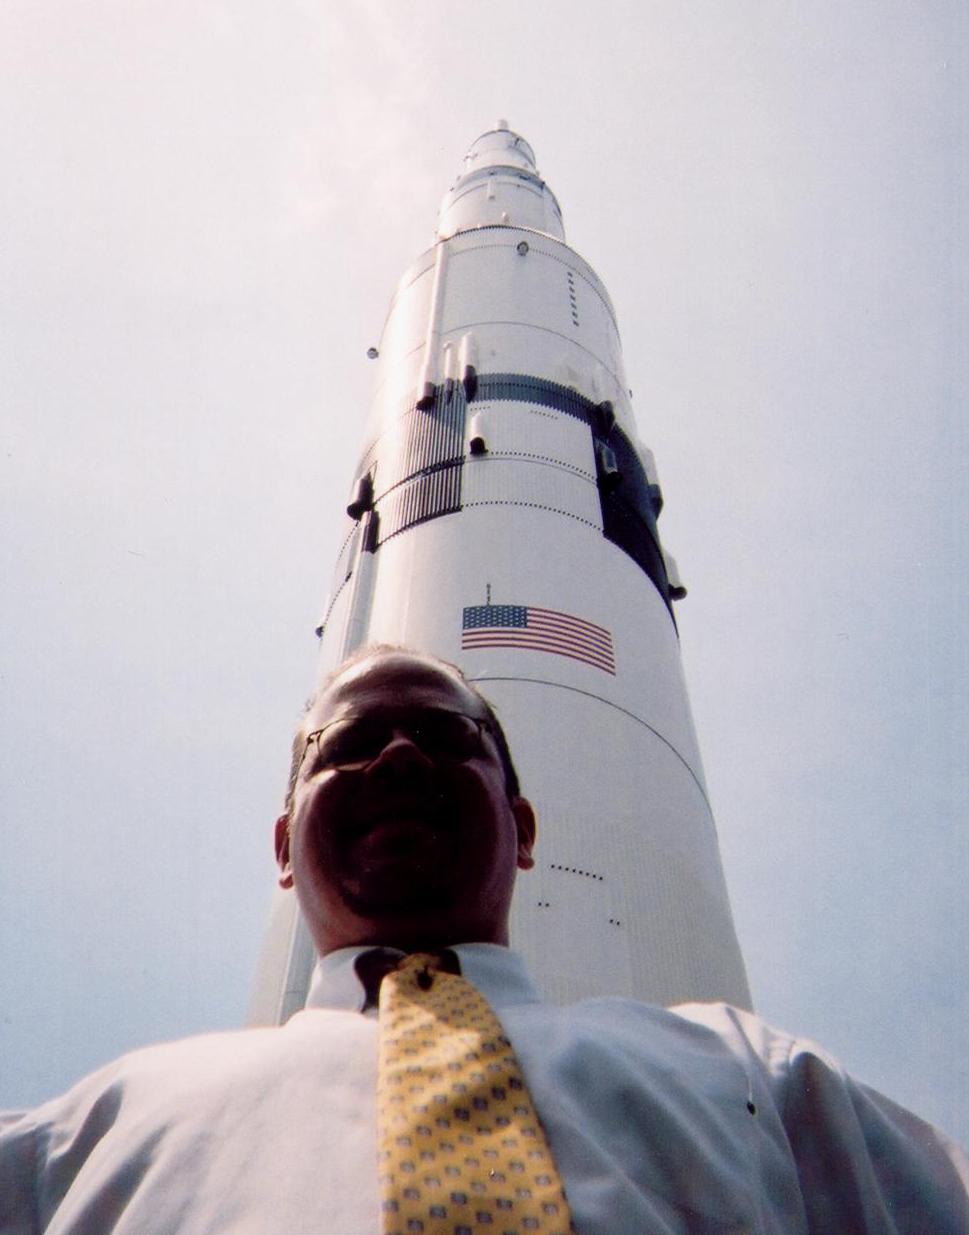
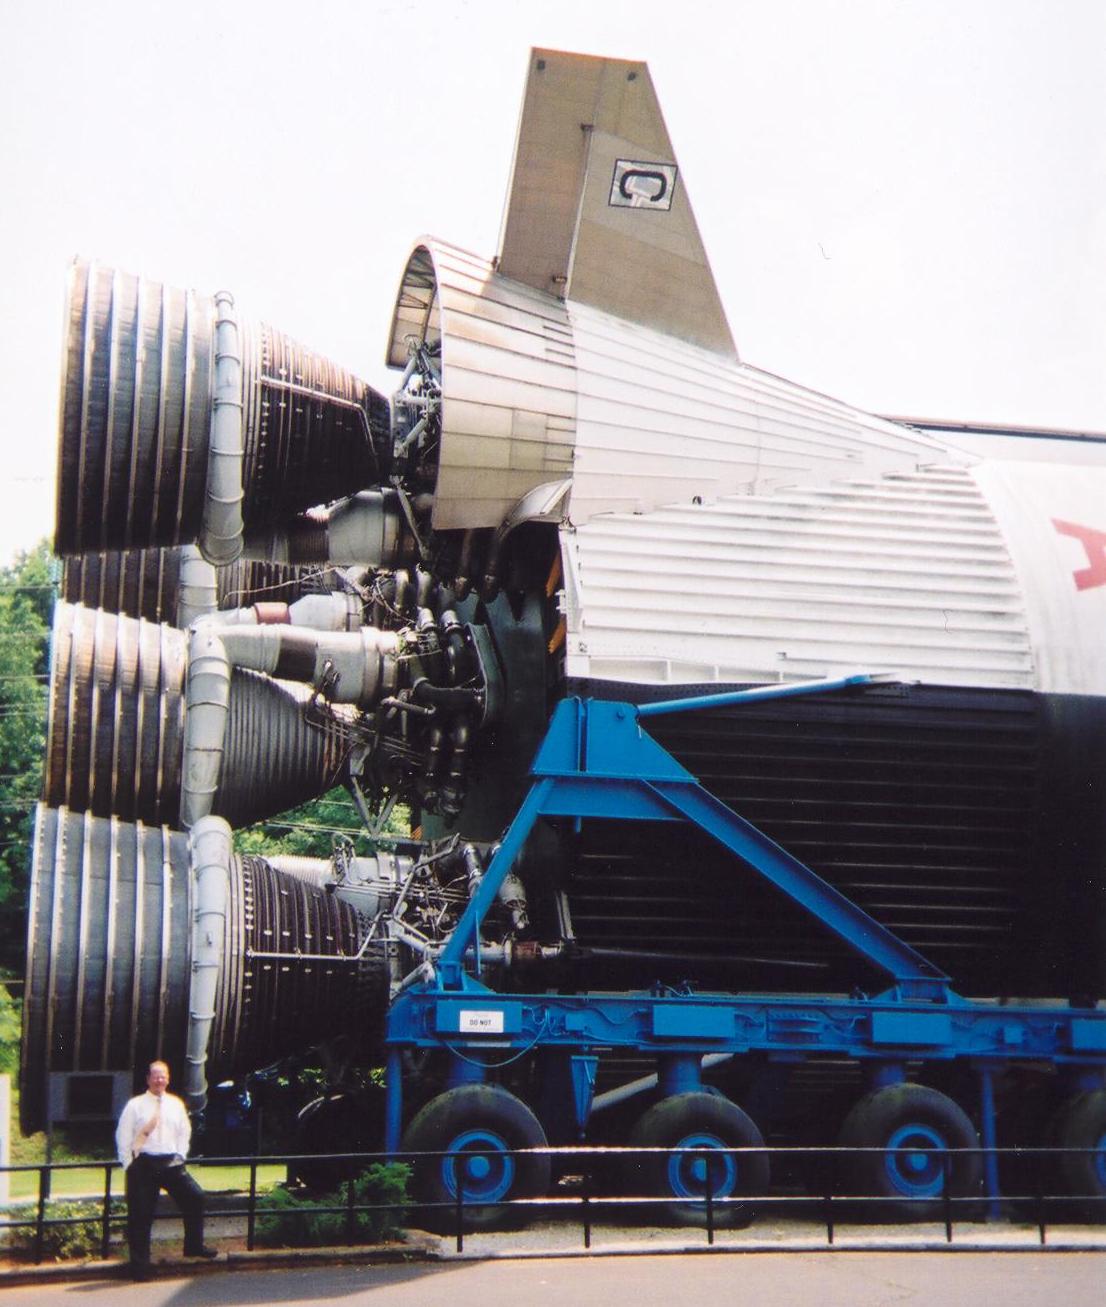
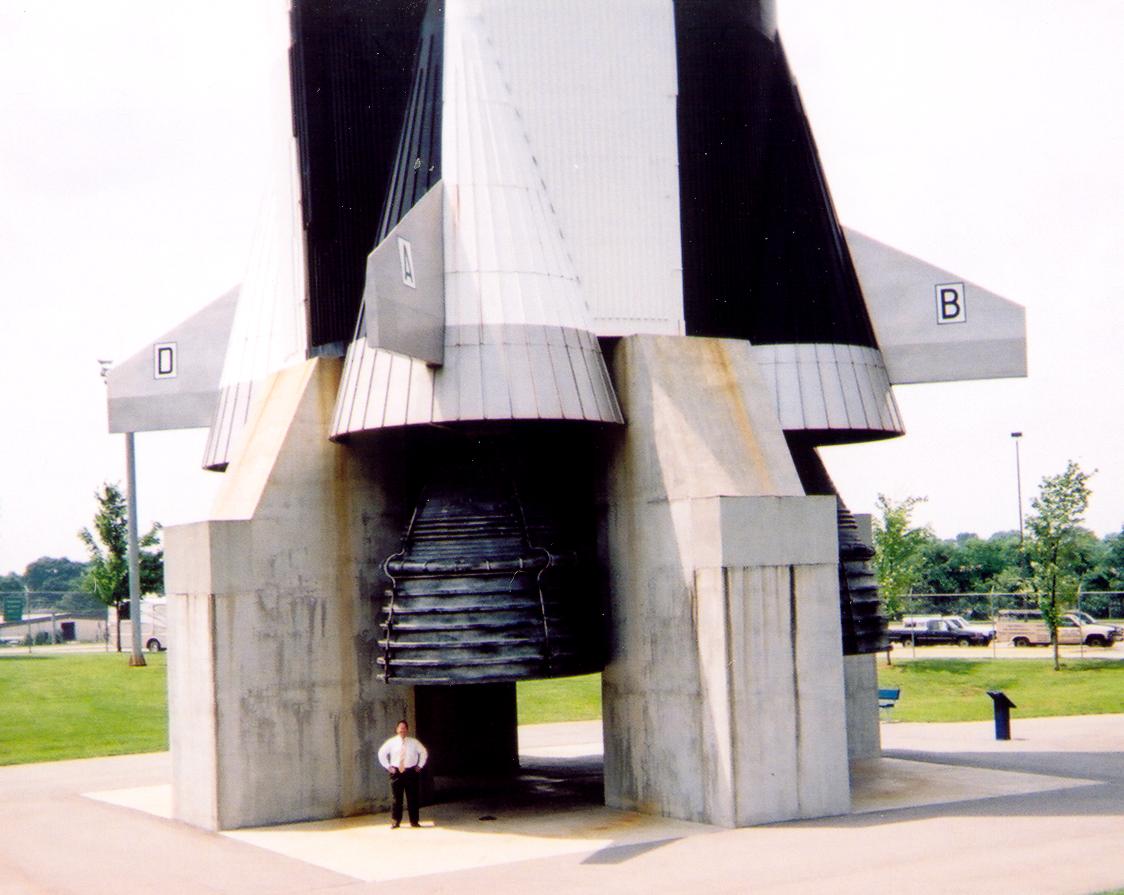
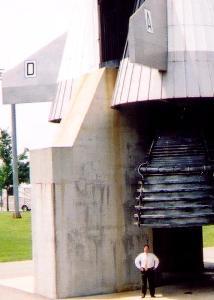
me 'n my big
friend |
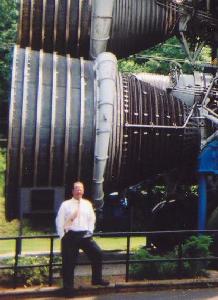
near one that's
been felled... |
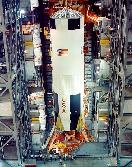
... and under
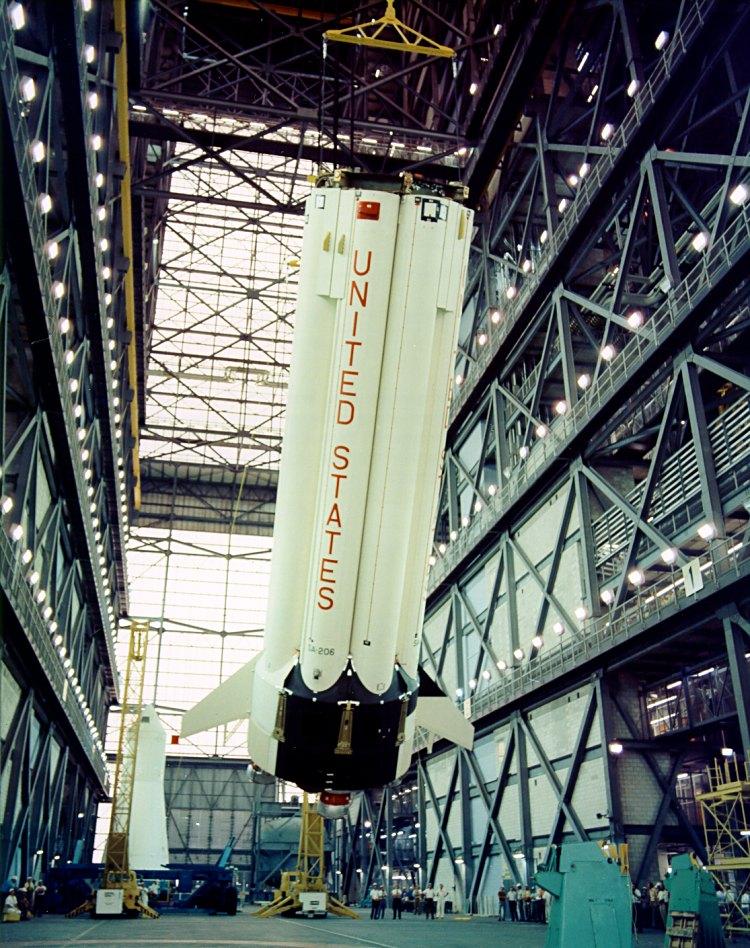
one that's vertical. |
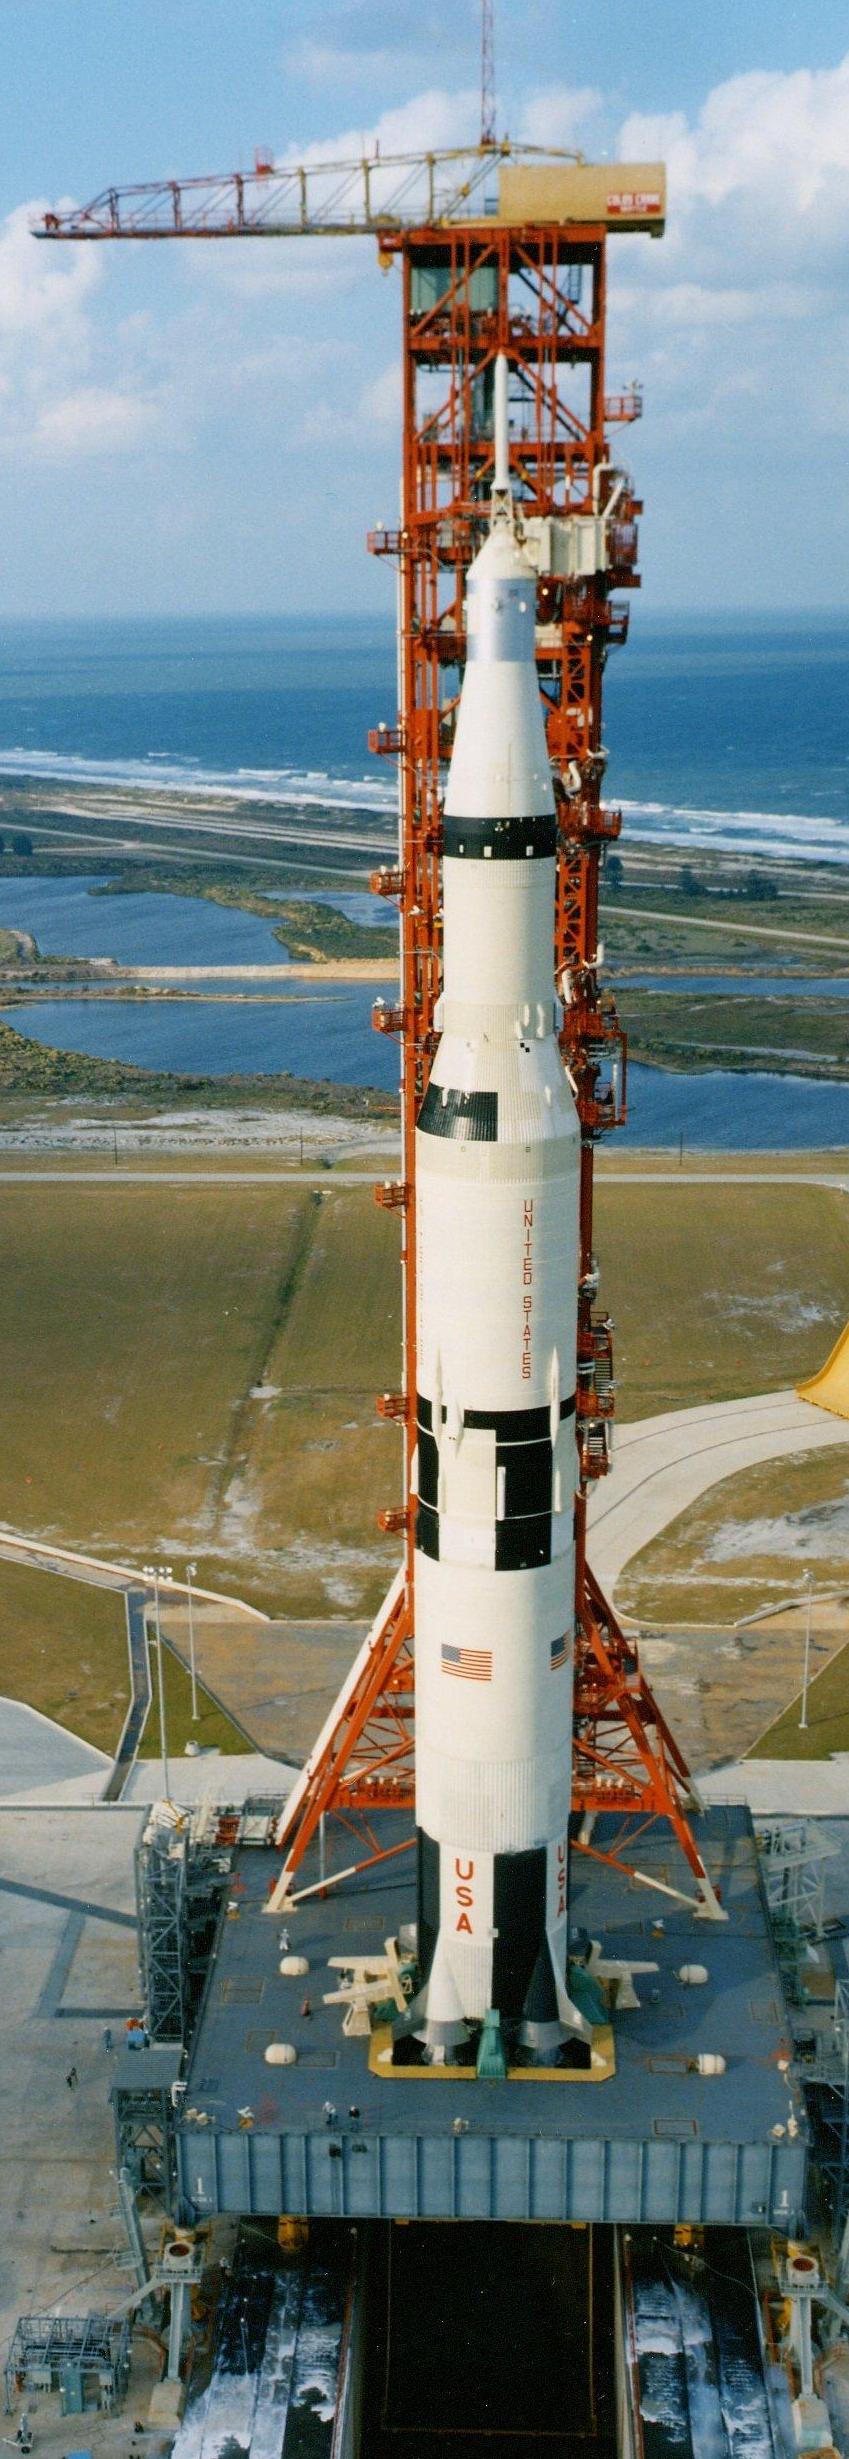
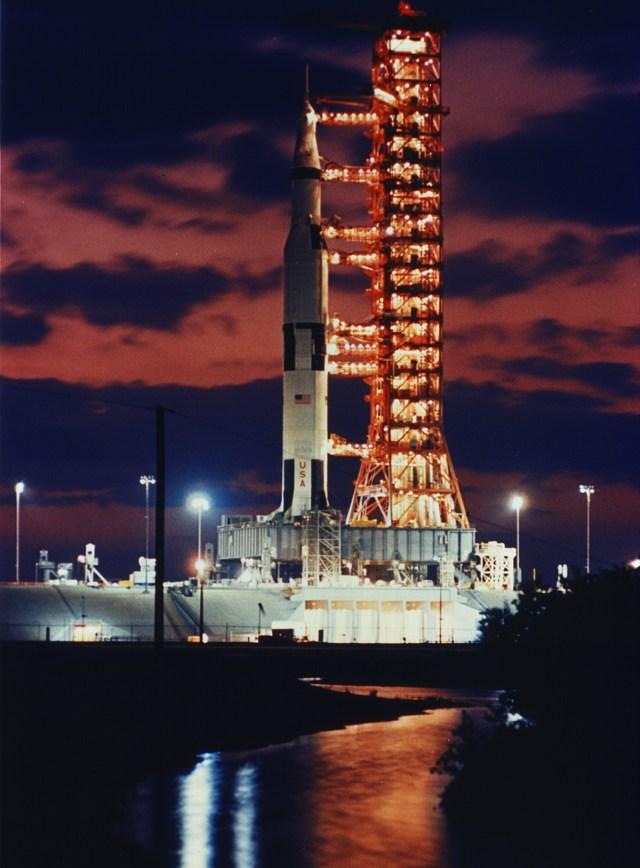
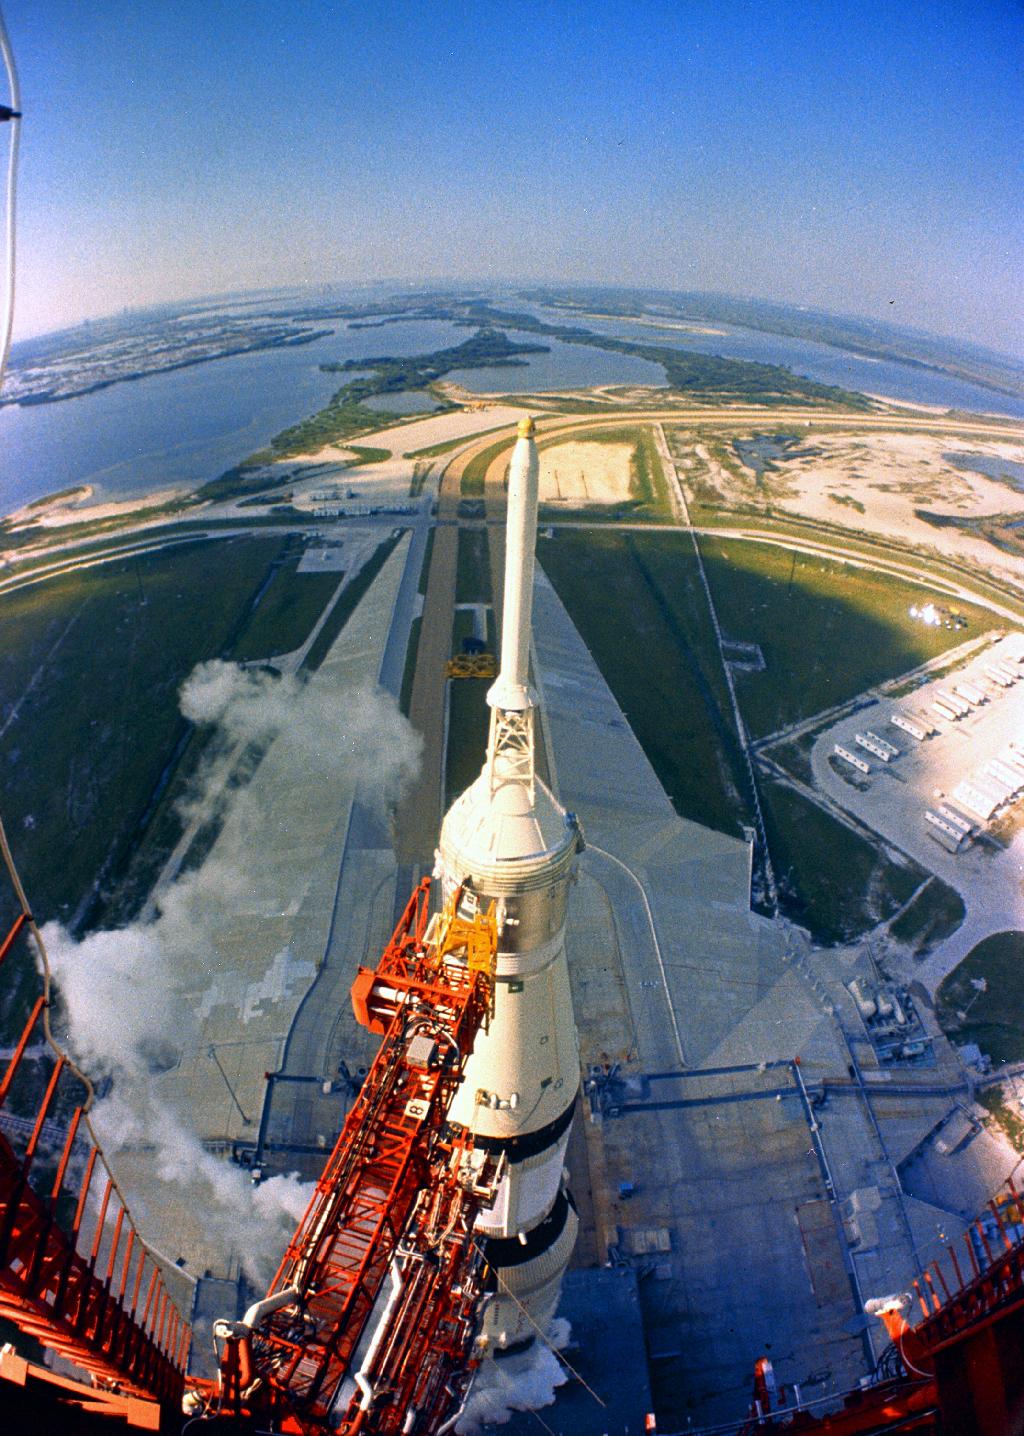
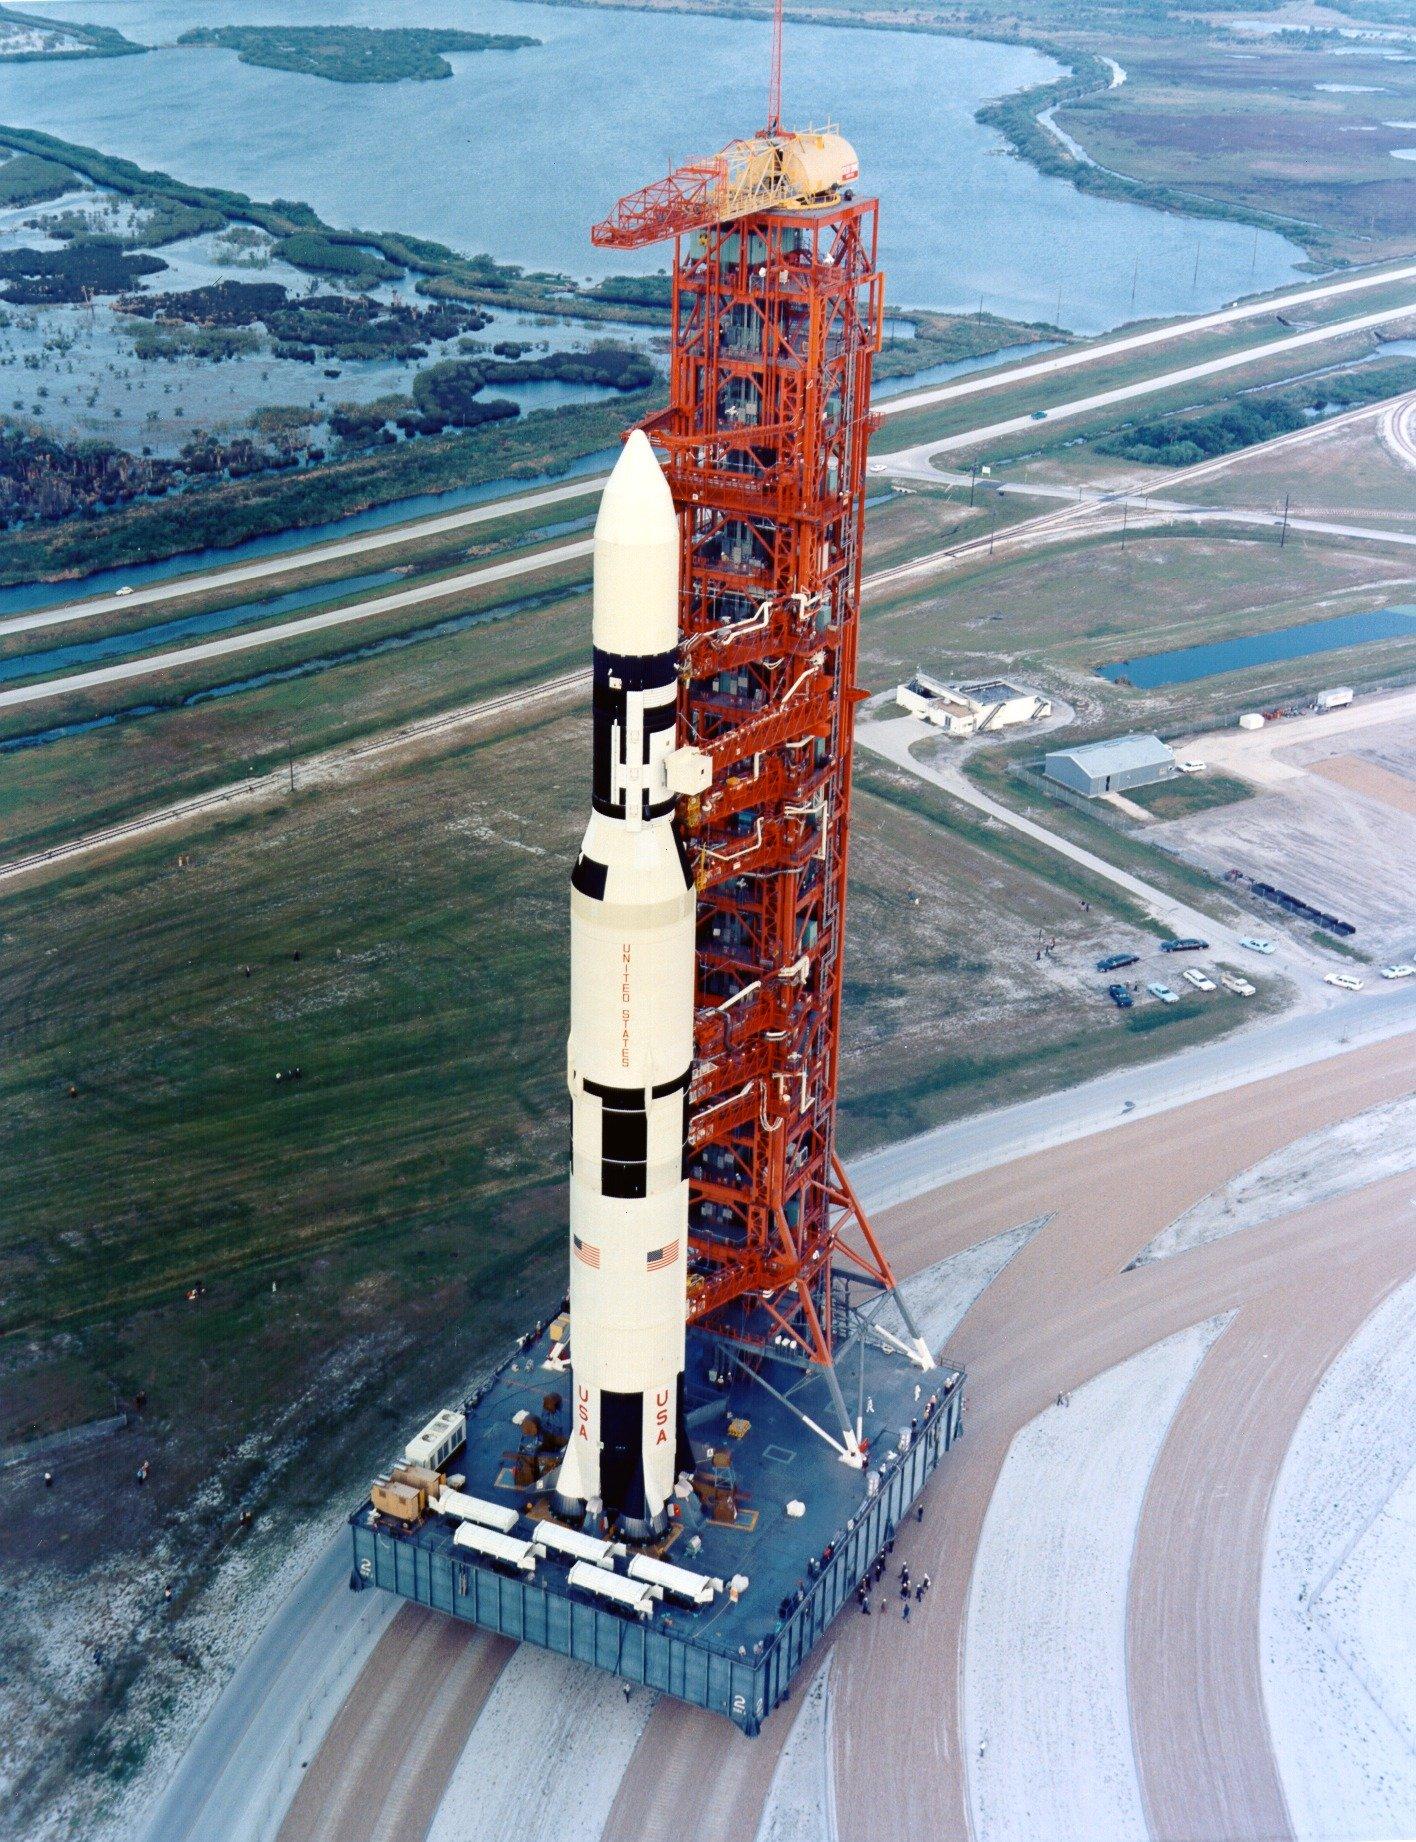
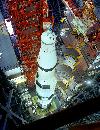
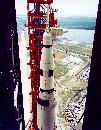
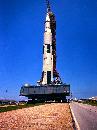
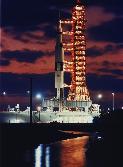
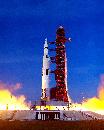
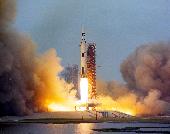
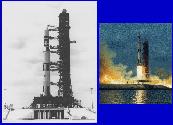
One ready for
launch! (full height view) |
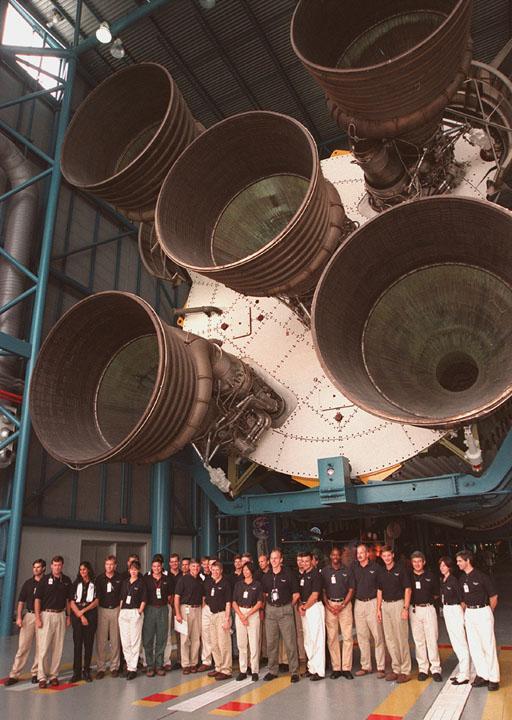
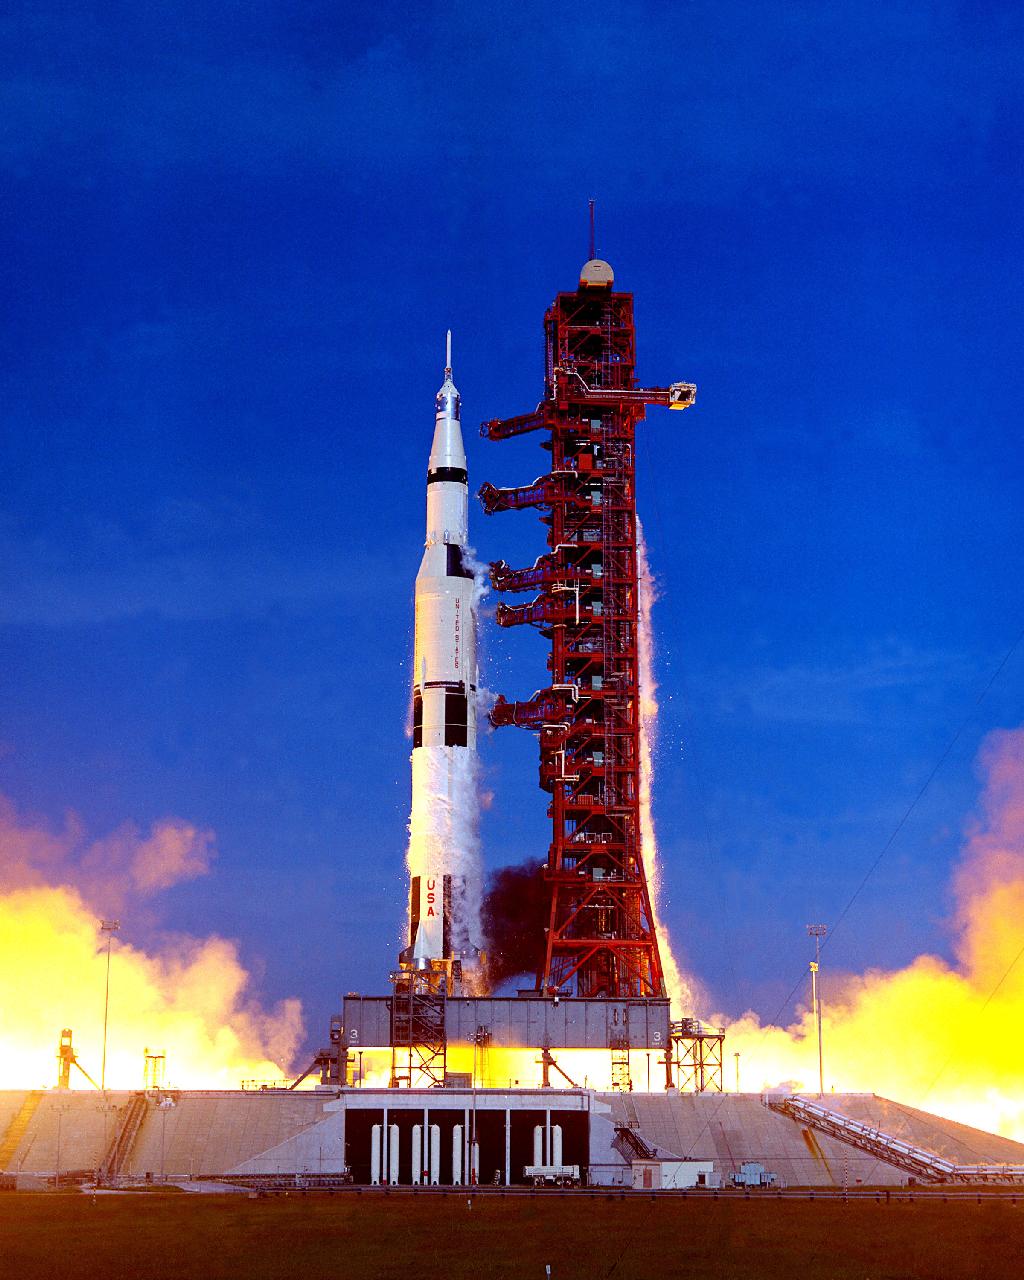
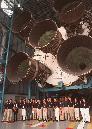
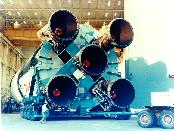
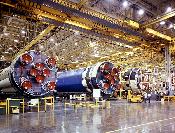
| It was big, it was powerful, it was how we got man to the moon before the Ruskies
(who gave up soon afterwards). Each of the 5 first stage F-1 engines had
1.5 million pounds of thrust -- enormous when compared to each of the
Space Shuttle's 3 main rocket engines at 0.4 million pounds of thrust
per. Here
it is, the Saturn V and it's use on the Apollo and Skylab programs... |
Tech
write-up of the Apollo / Saturn program...
Now, on to the pix!
Development:
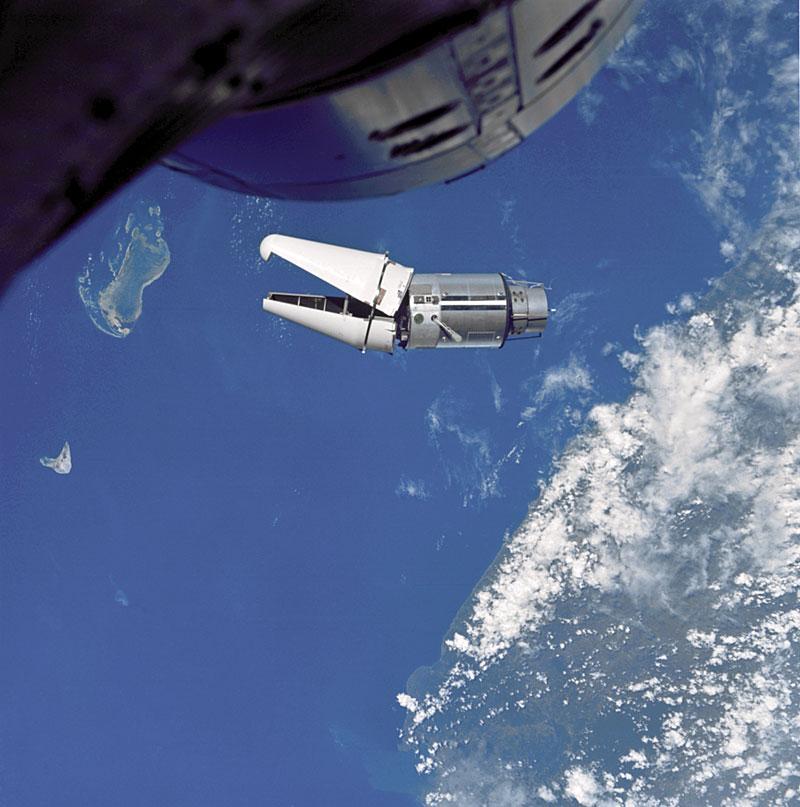
Gemini
8 practicing of LEM extraction; failed to open!

|
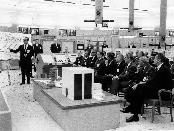
program
overview briefing to President Kennedy
|
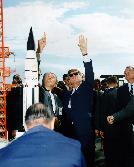
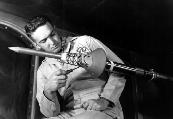
President
Kennedy with Dr. Wernher Von
Braun, Director of Marshall Space Flight
Center
|
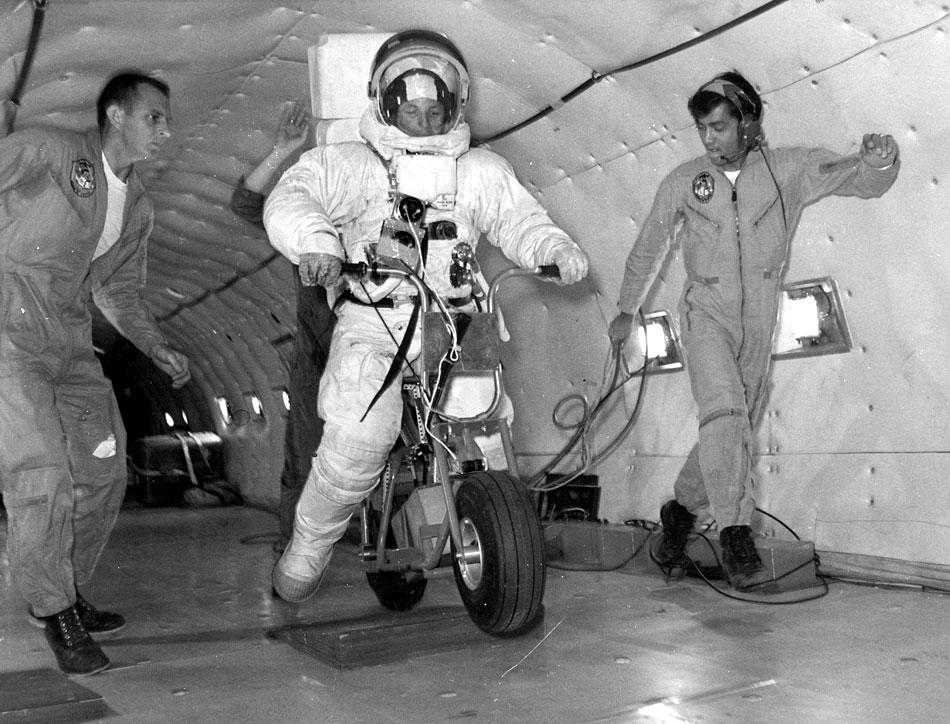
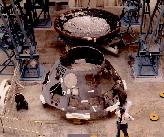
practicing
riding the lunar mini-bike in the zero-g "Vomit Comet" (mini-bike
concept later abandoned)

|
|
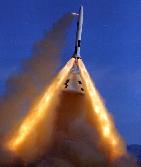
capsule launch
abort rocket testing
|
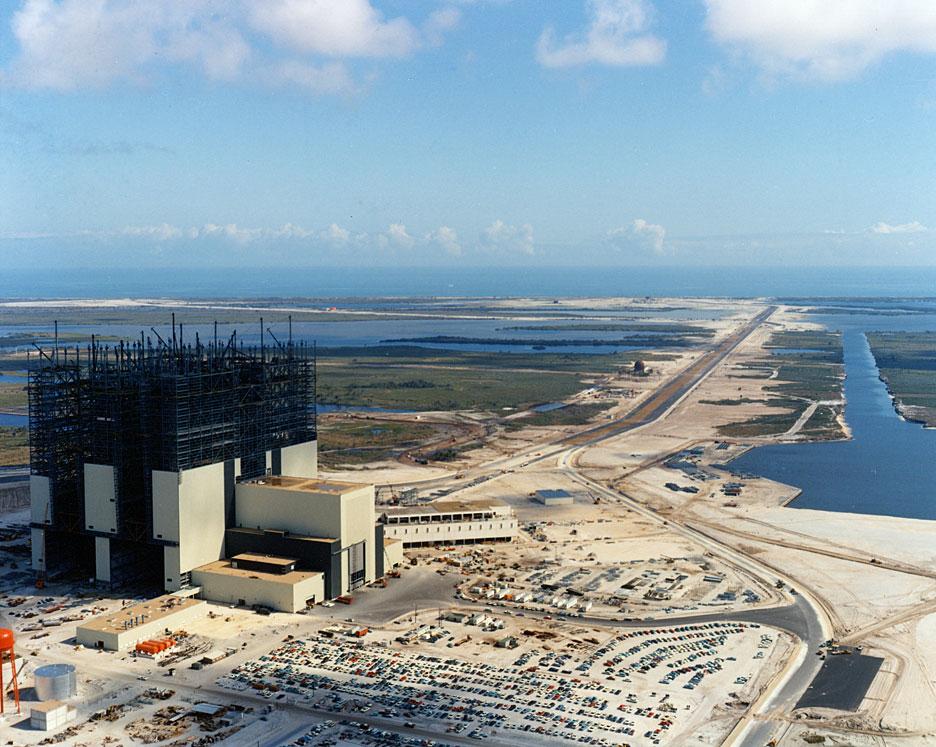
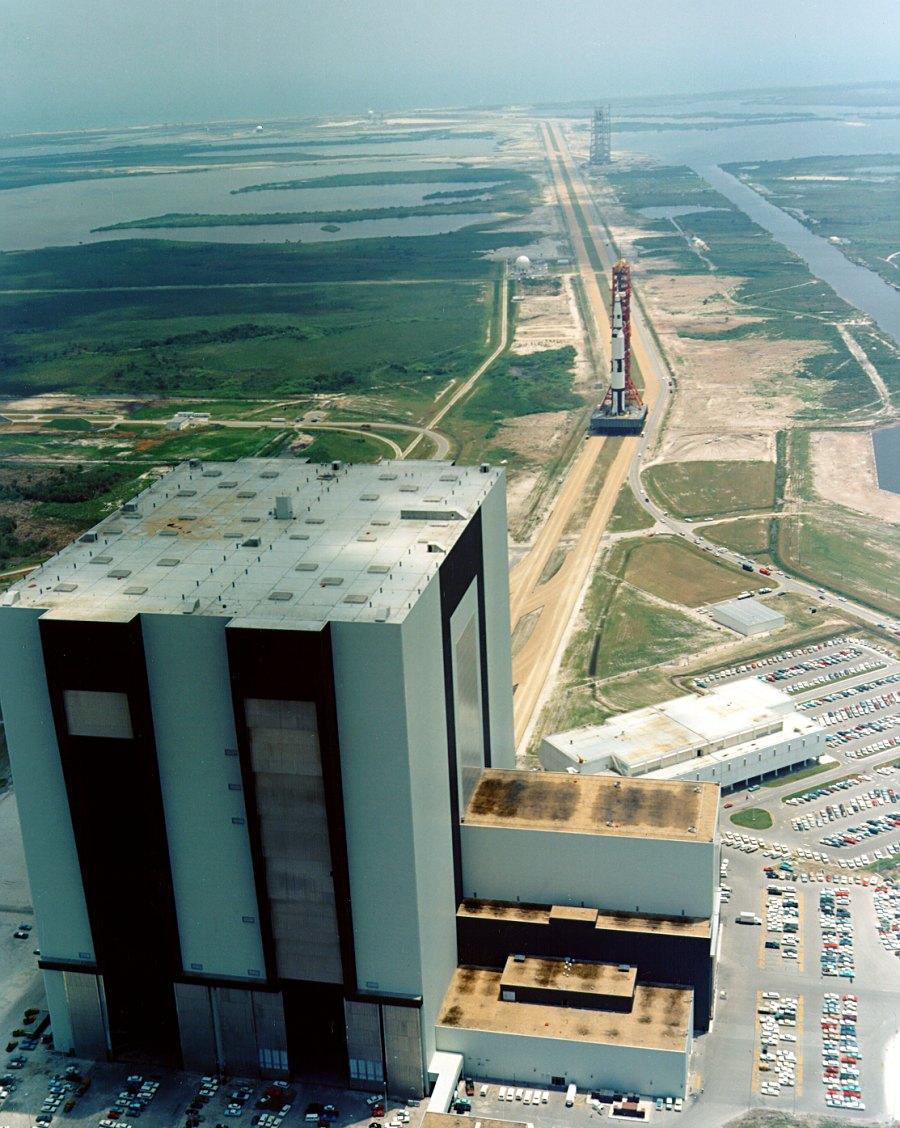
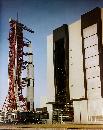
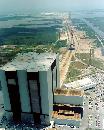
VAB construction
|
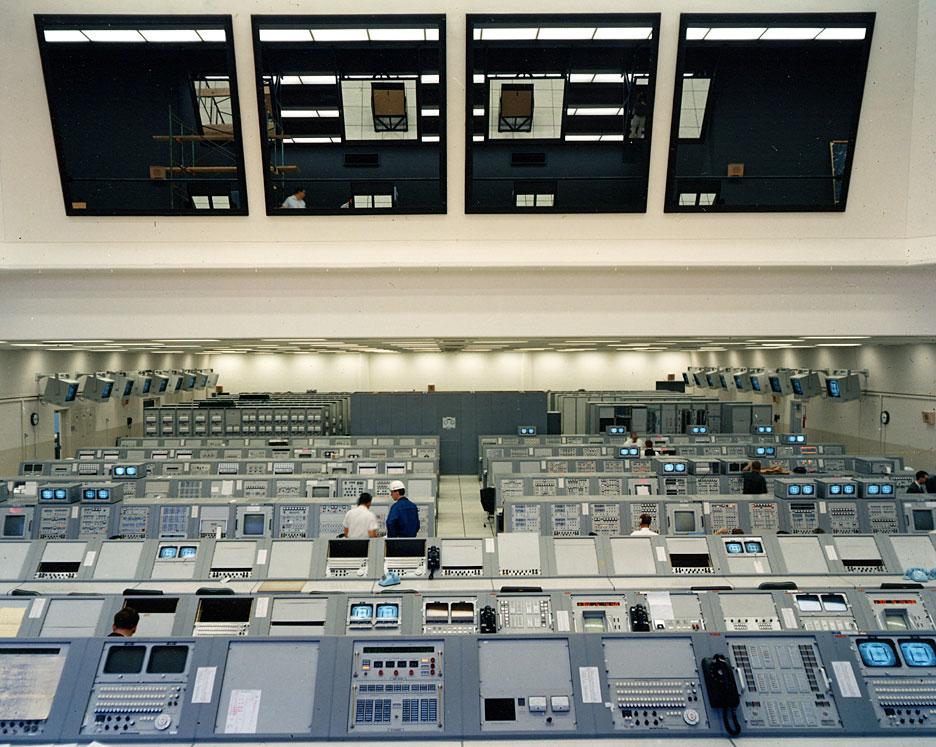
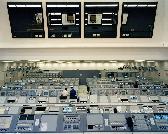
setup
of Mission Control
|
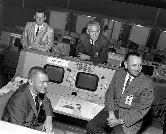
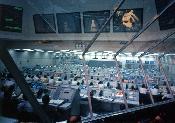
mission
controllers (lower left = Gene
Kranz)
|
|
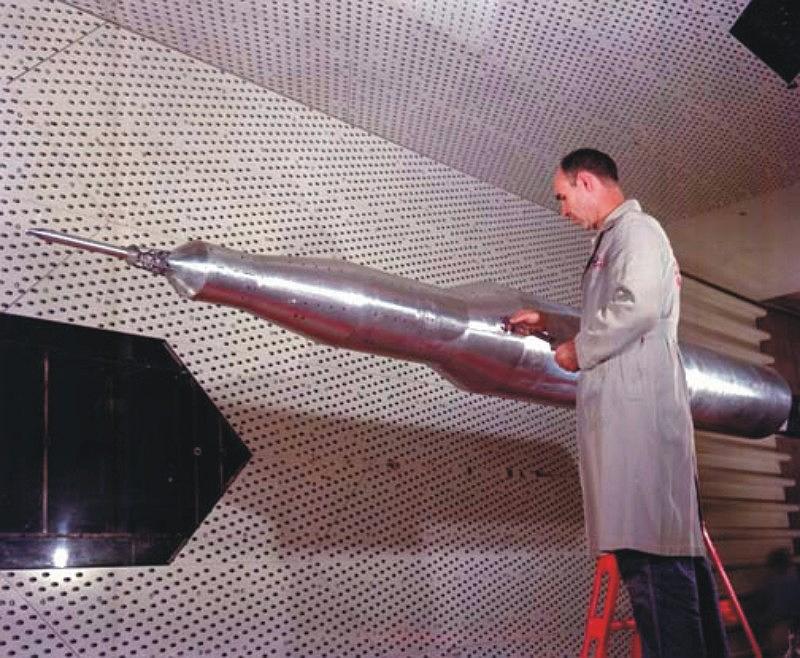
wind tunnel
testing @AEDC

|
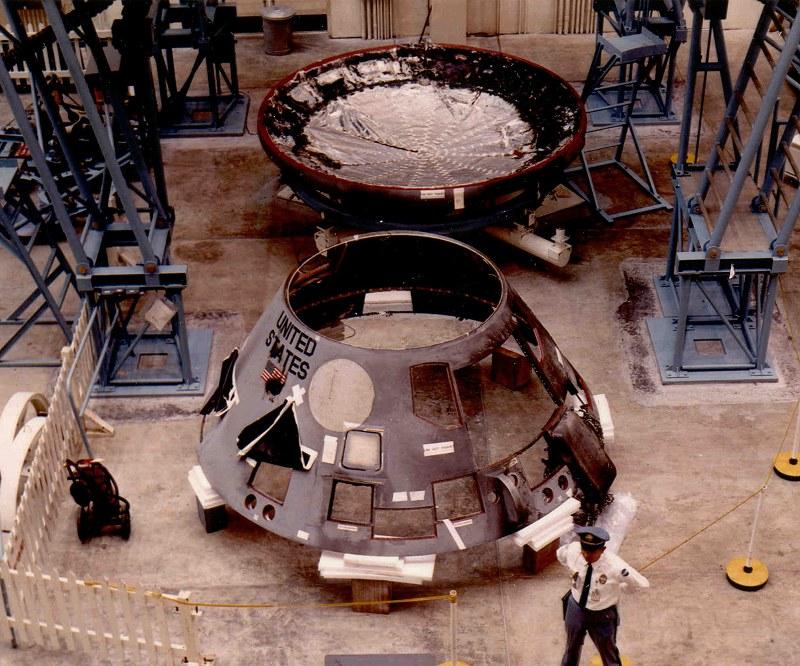
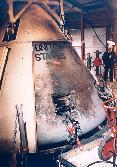
Apollo 1 fire
remains, under guard
|
Apollo 1 fire
remains
|
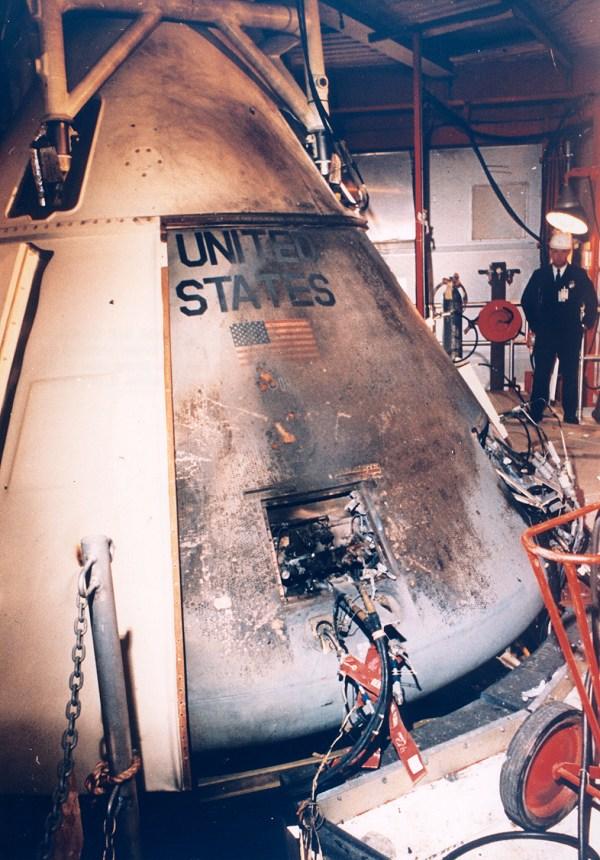
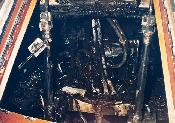
Apollo 1:
cockpit, post-fire
|
|
wind tunnel
testing @AEDC
|
|
|
|
Mission execution:
|
|
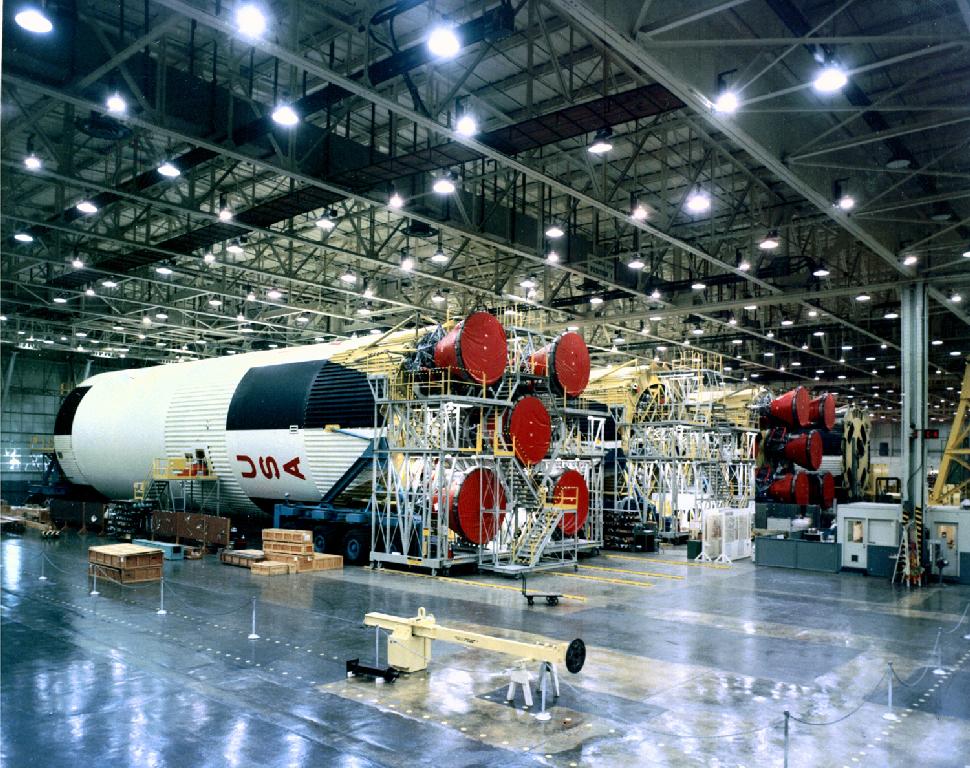
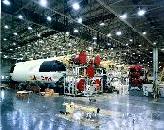
Booster (museum)
|
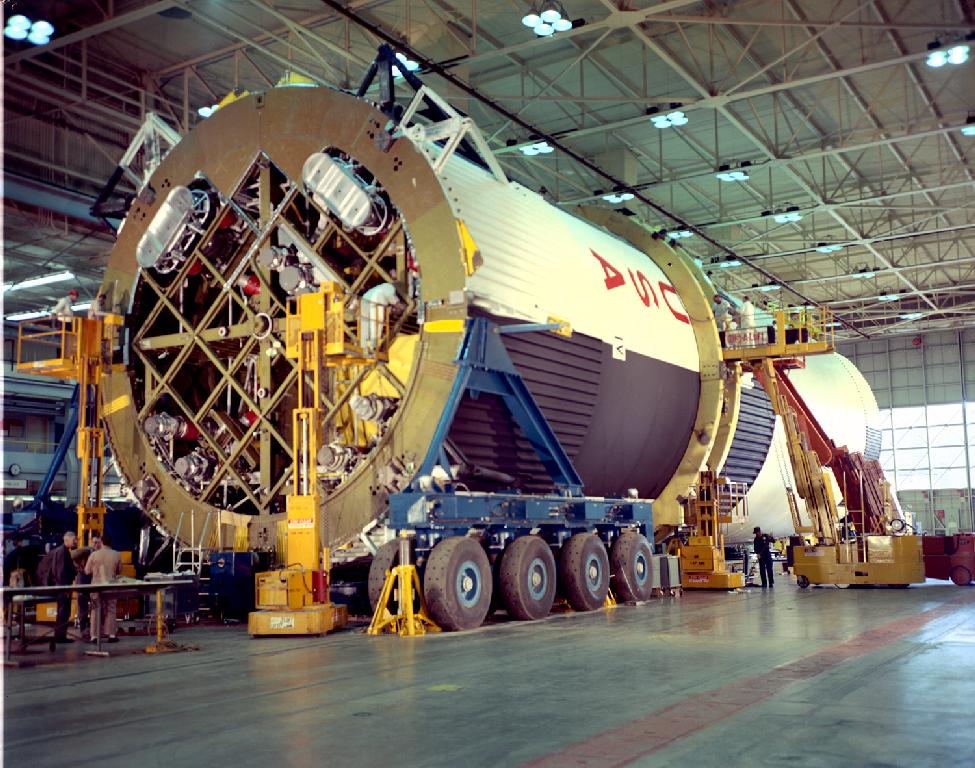
Booster
(production)
|
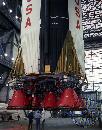
Booster

|
|
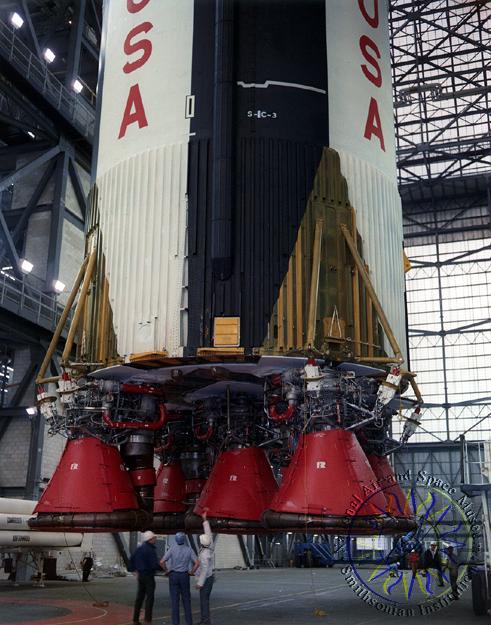
Booster
|
Booster
|
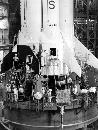
Lunar Module
|
Lunar Module
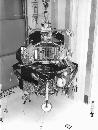
|
|
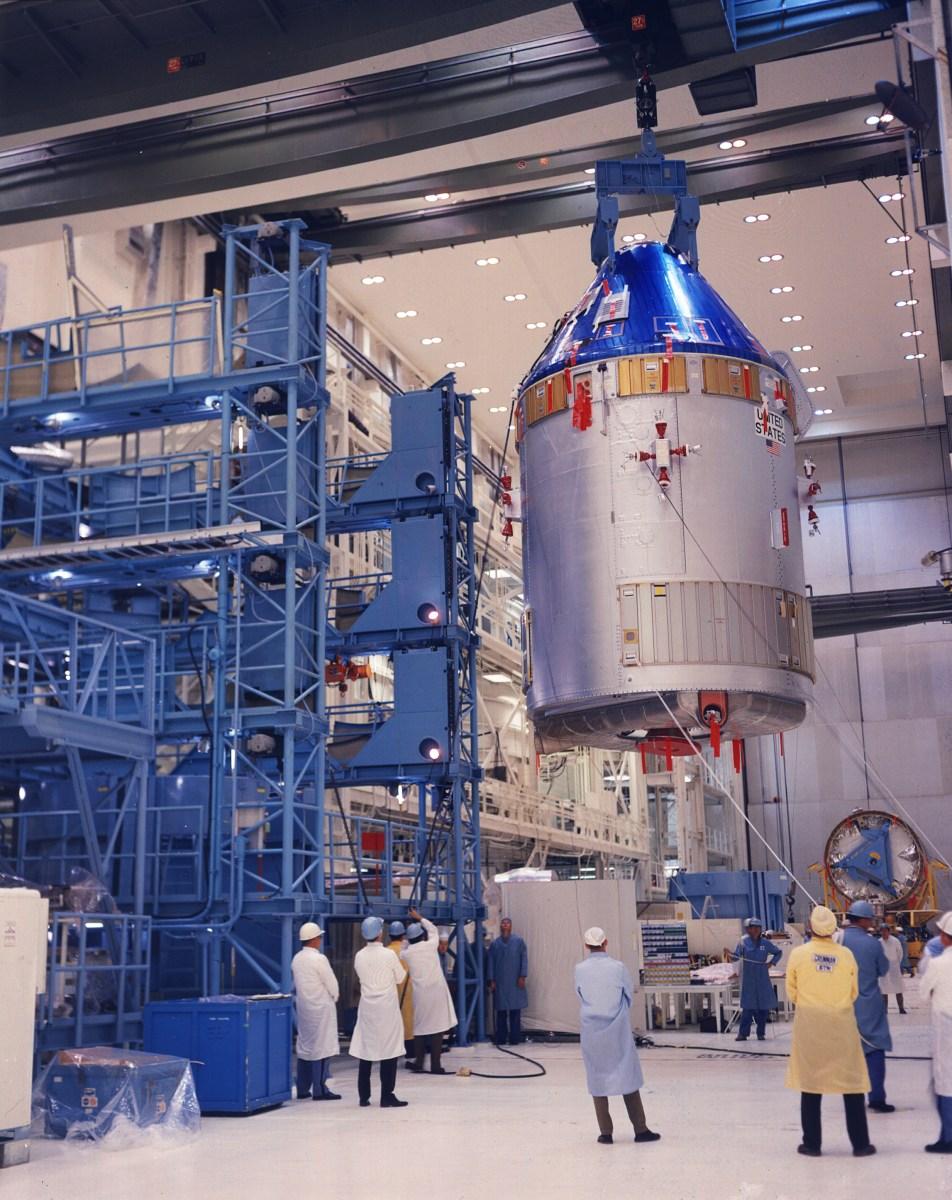
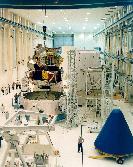
Command Module
|
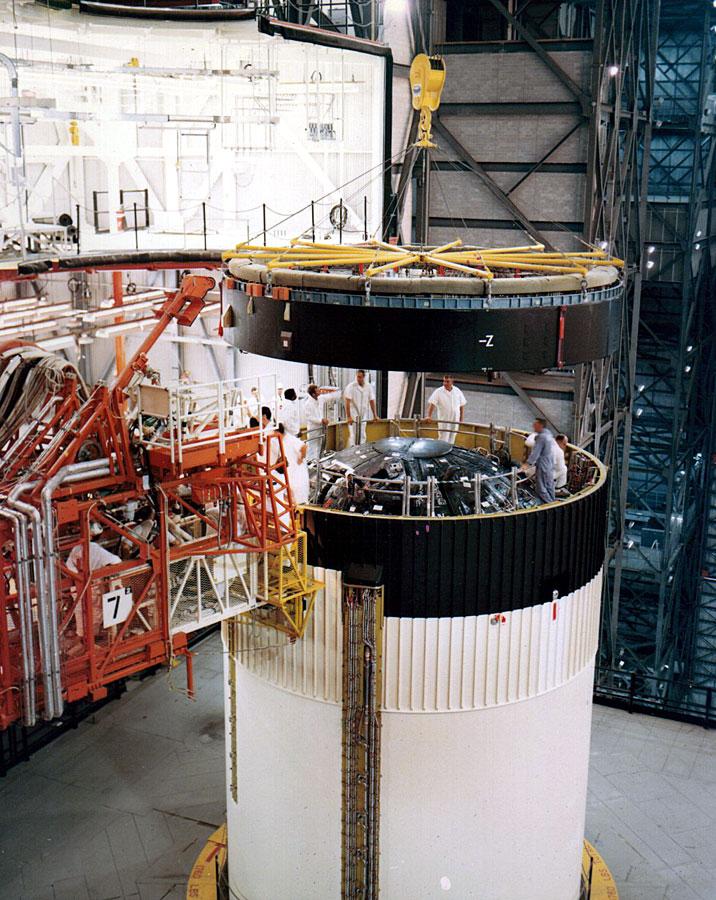
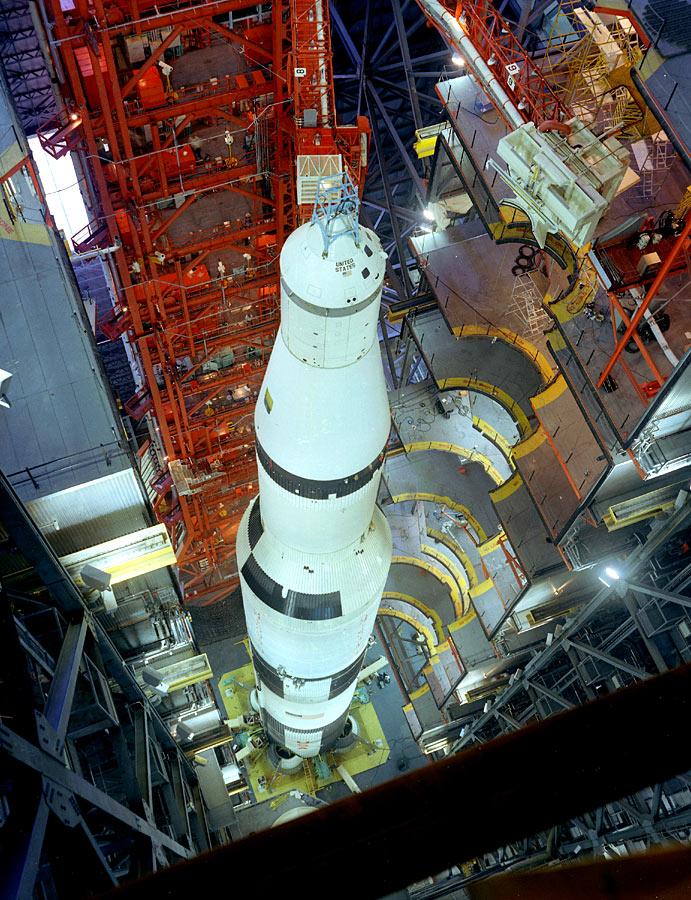
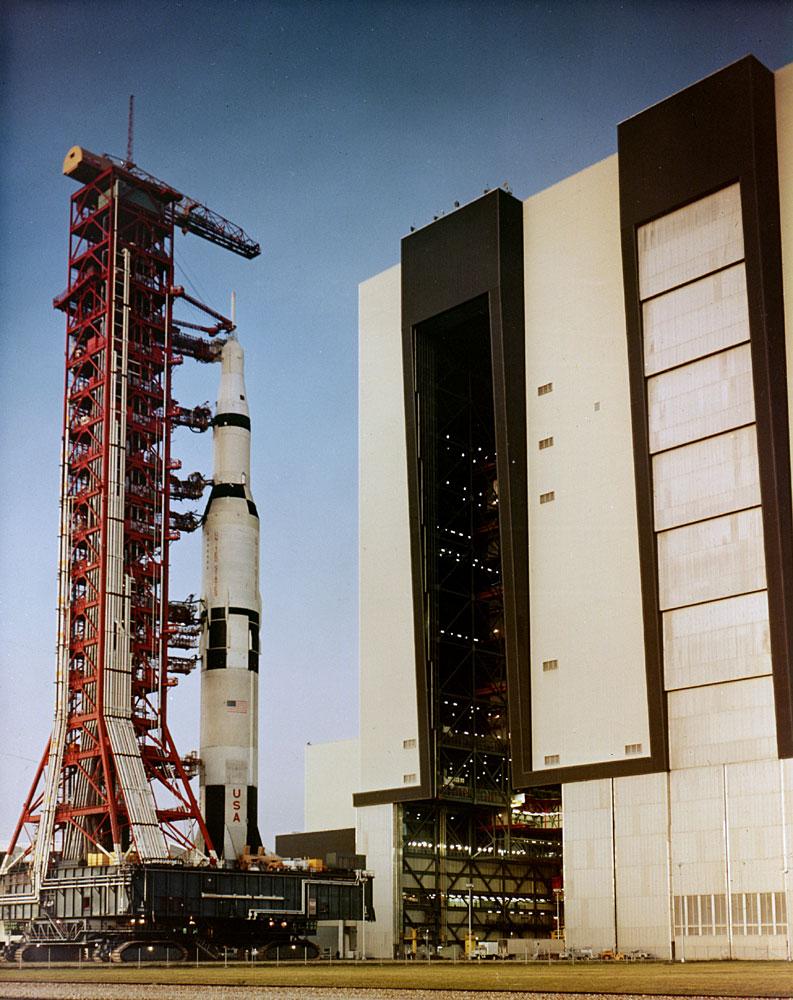
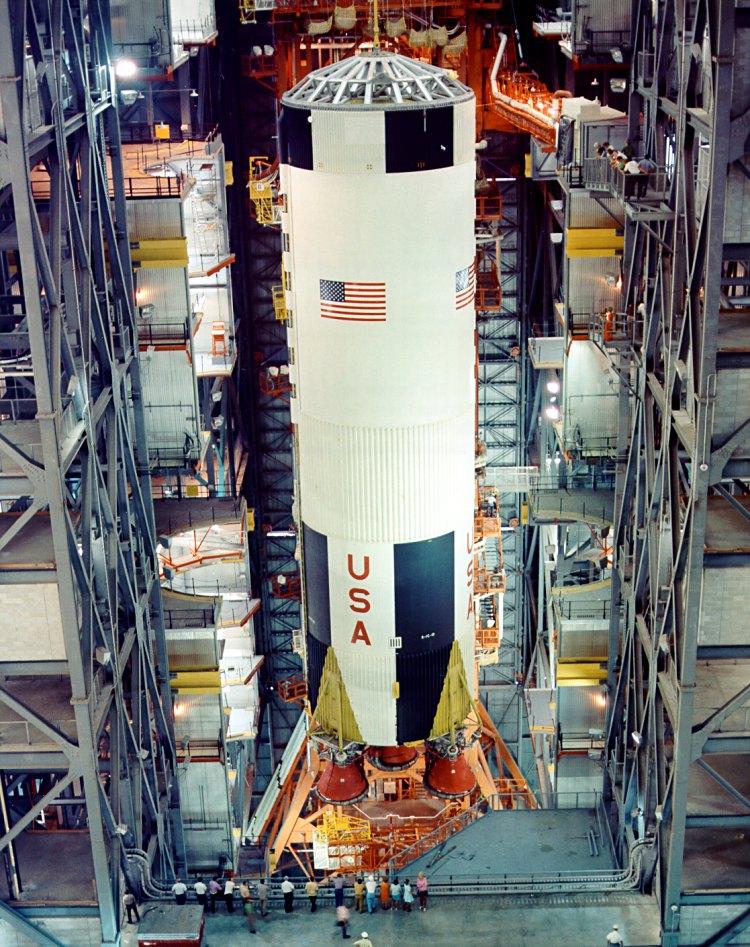
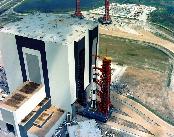
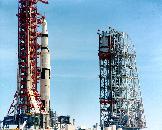
stacking up in
the VAB
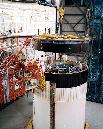
|
stacking up in
the VAB
|
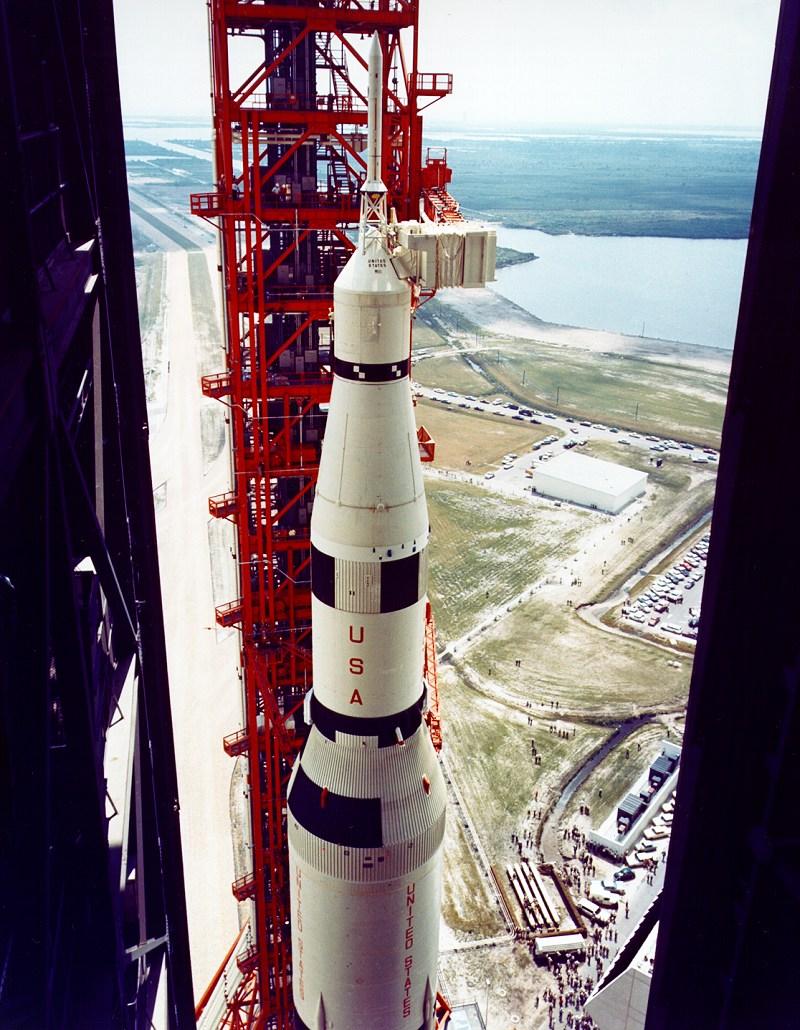
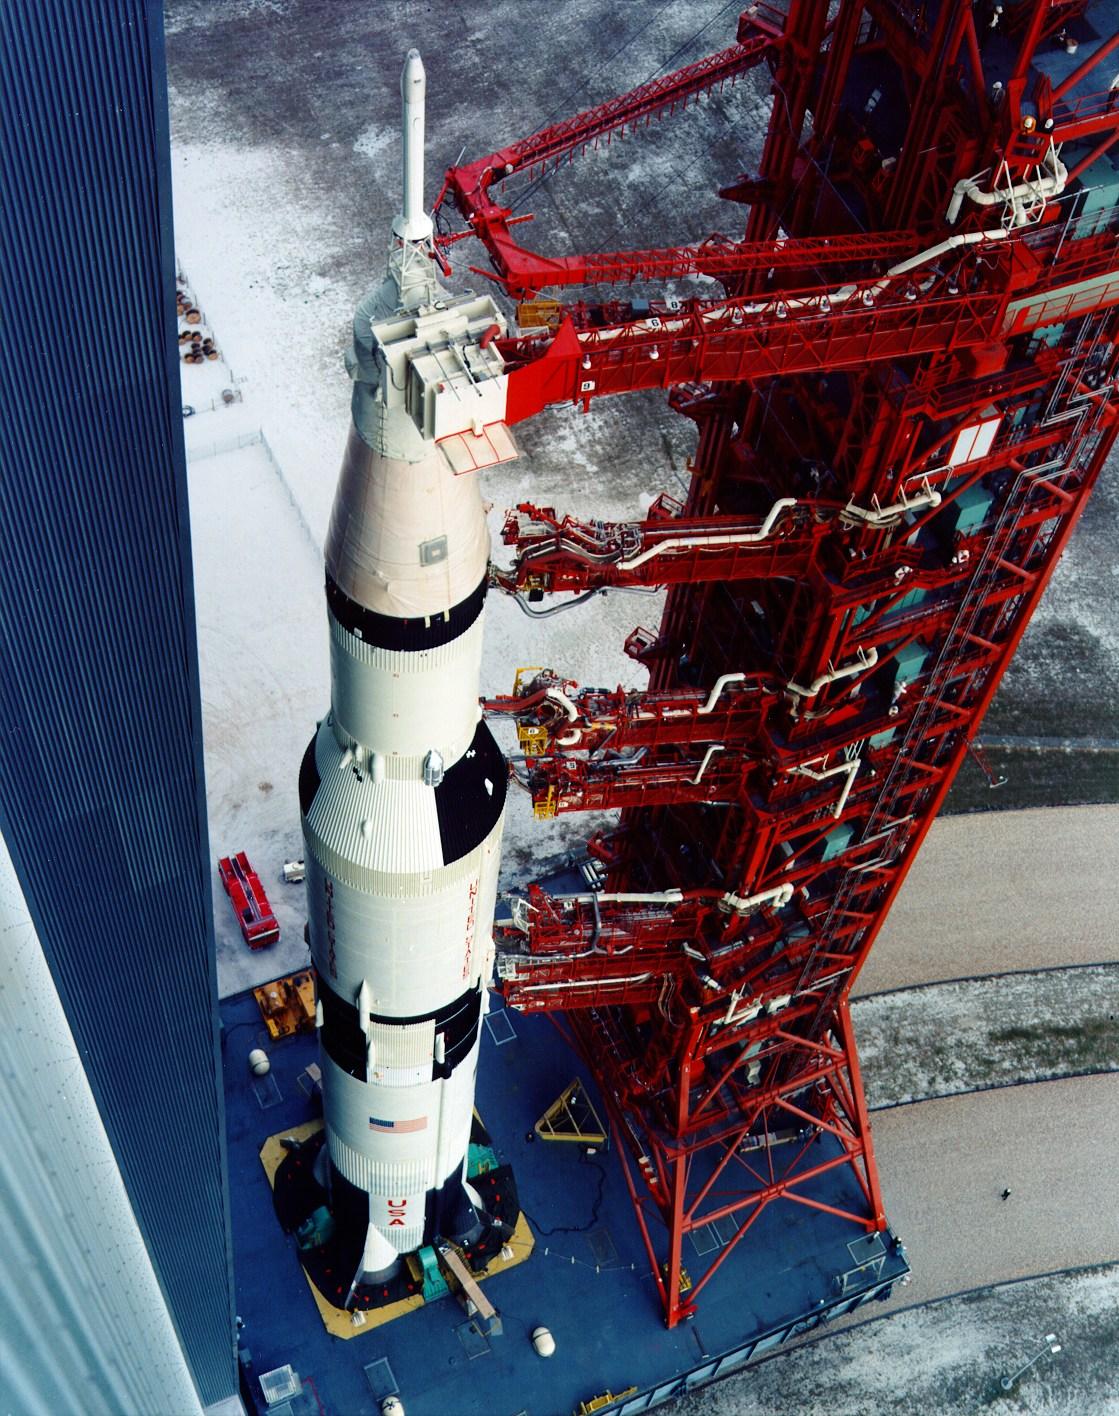
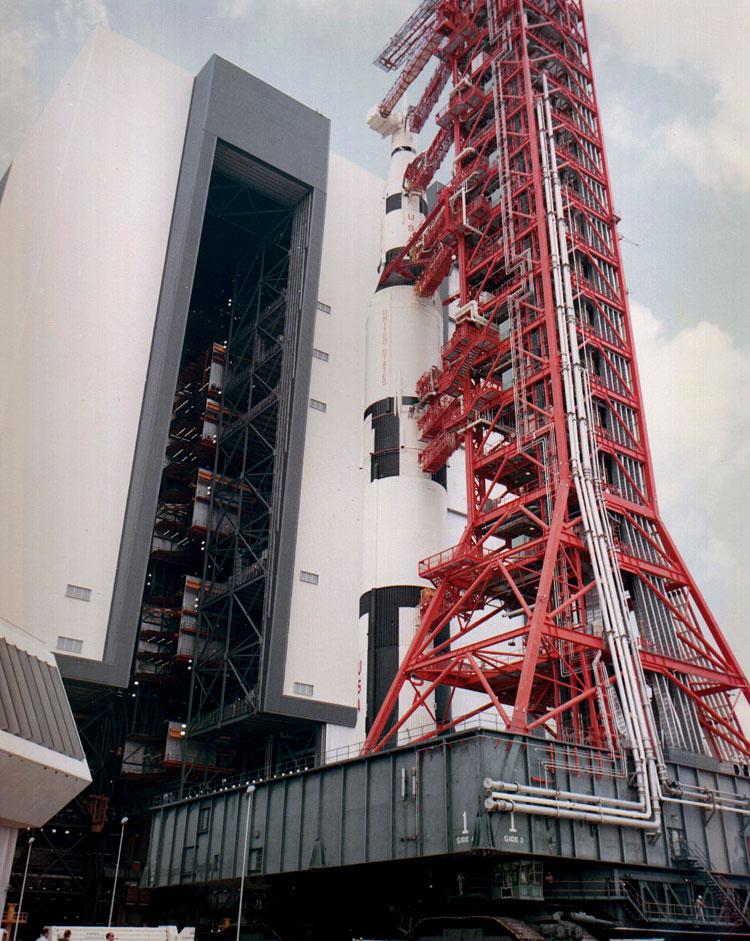
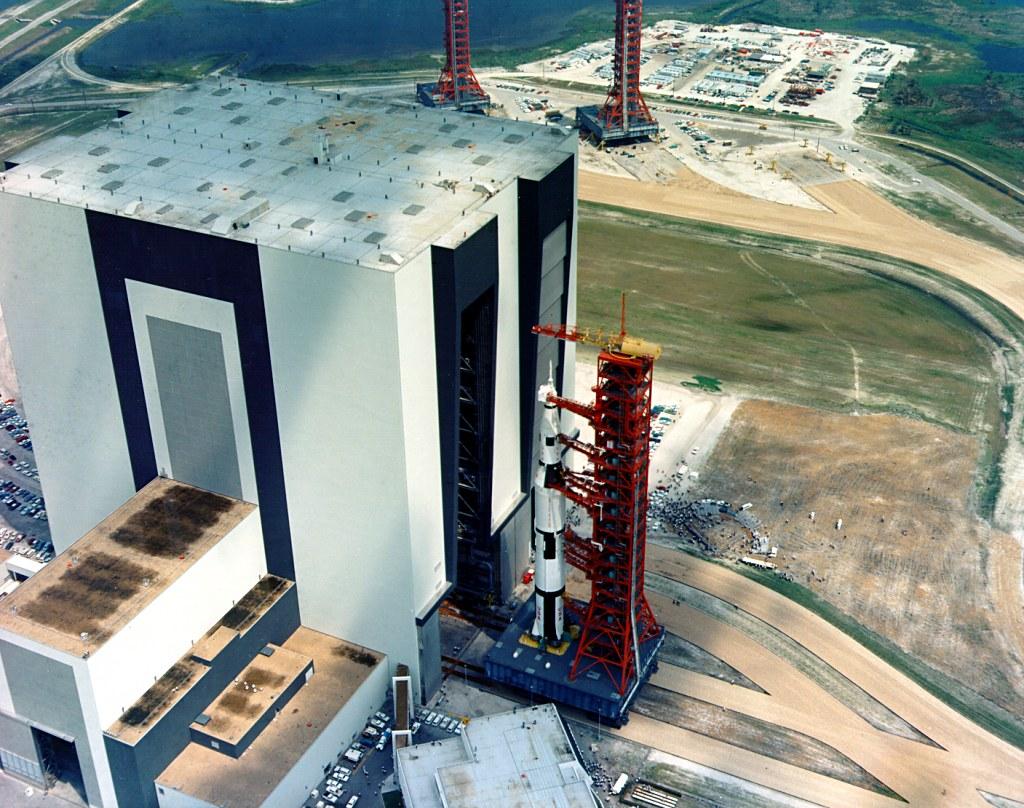
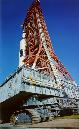
rollout
|
|
rollout
|
rollout
|
rollout

|
rollout
|
|
rollout
|
crawler to pad
|
crawler to pad
|
crawler to pad
|
|
crawler to pad
|
crawler to pad
|
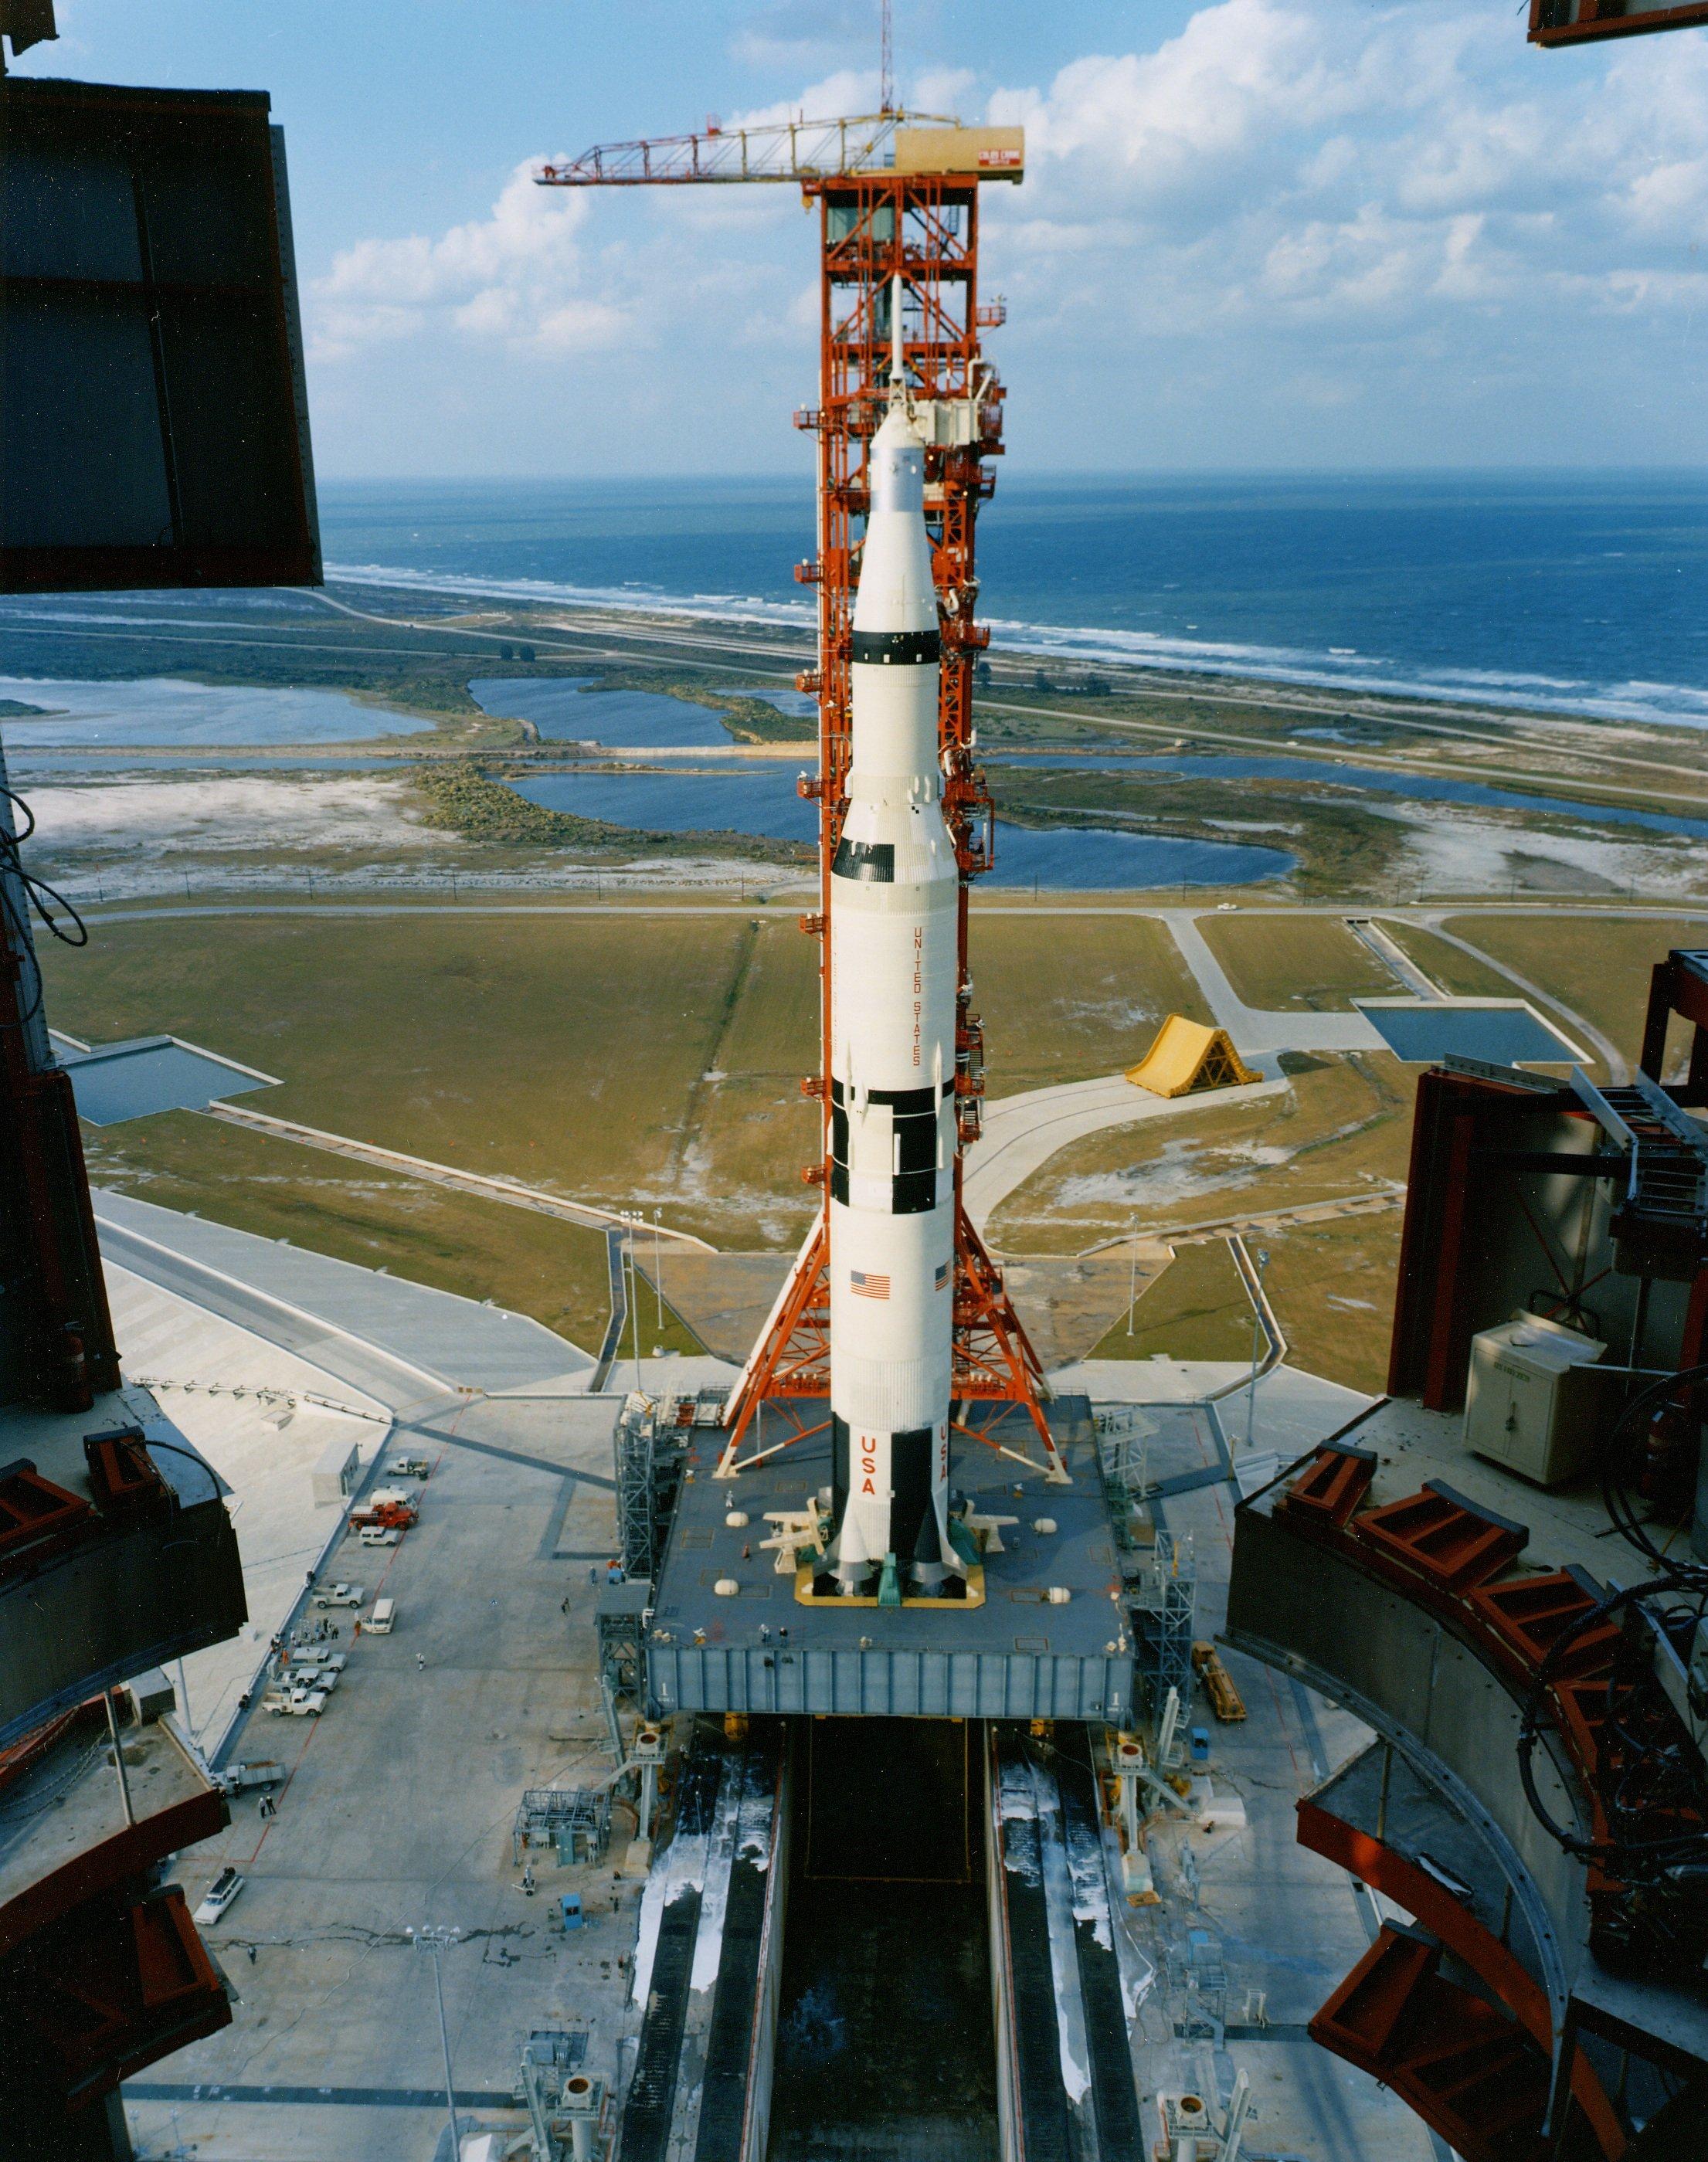
crawler at pad
|
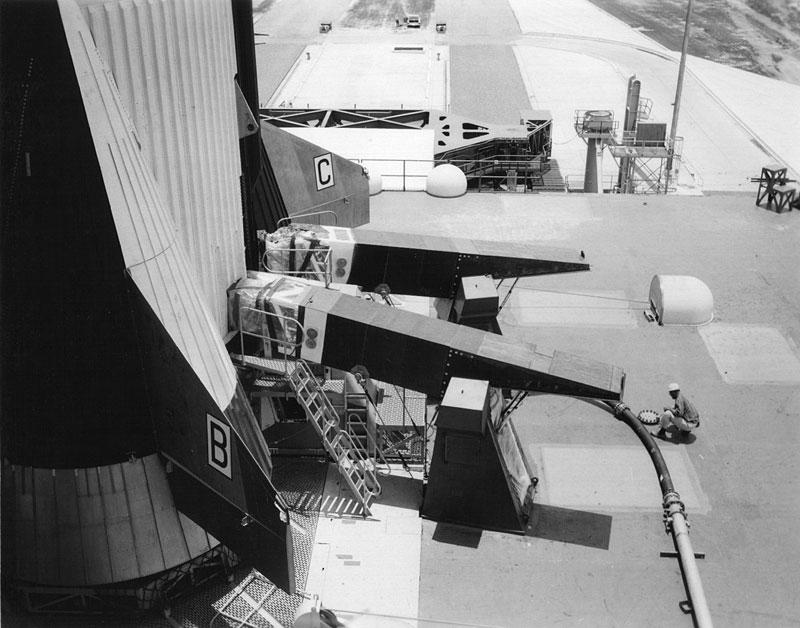
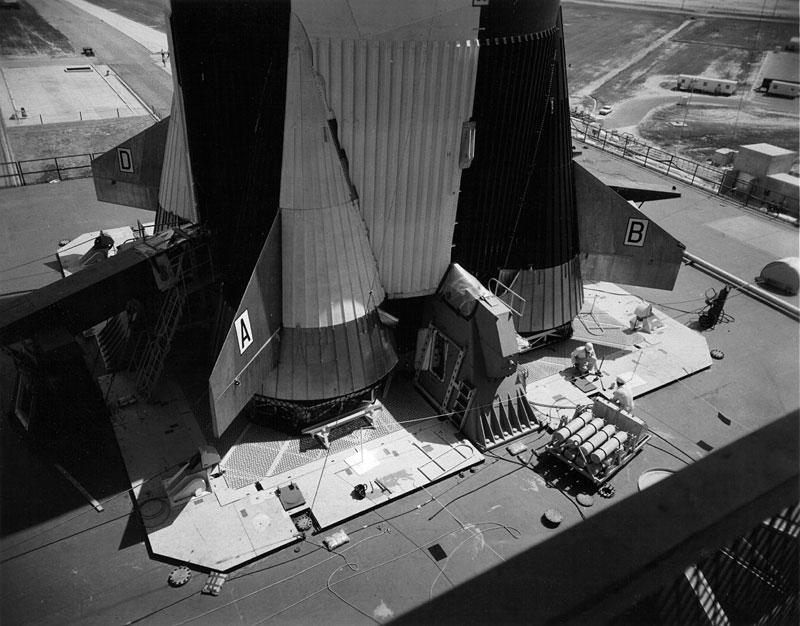
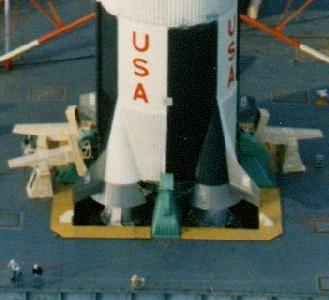
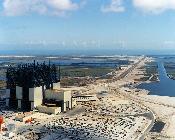
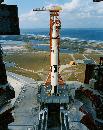
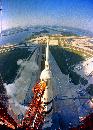
great base shot
showing tail service masts
|
|
great overall base shot

|
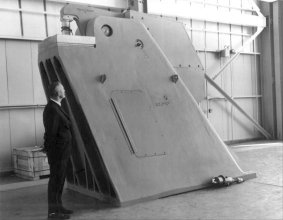
the
rocket hold-down mechanism
(one of 4 per
pad)
|
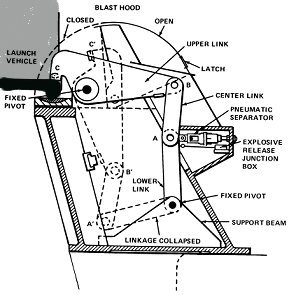
rocket hold-down
mechanism schematic

|
hold-down
mechanisms assembly
|
|
hold-down
mechanisms, another closer view
|
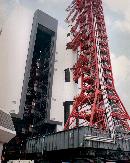
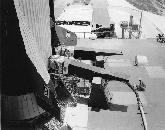
tail service
masts assembly
|
tail
service mast Figure
|
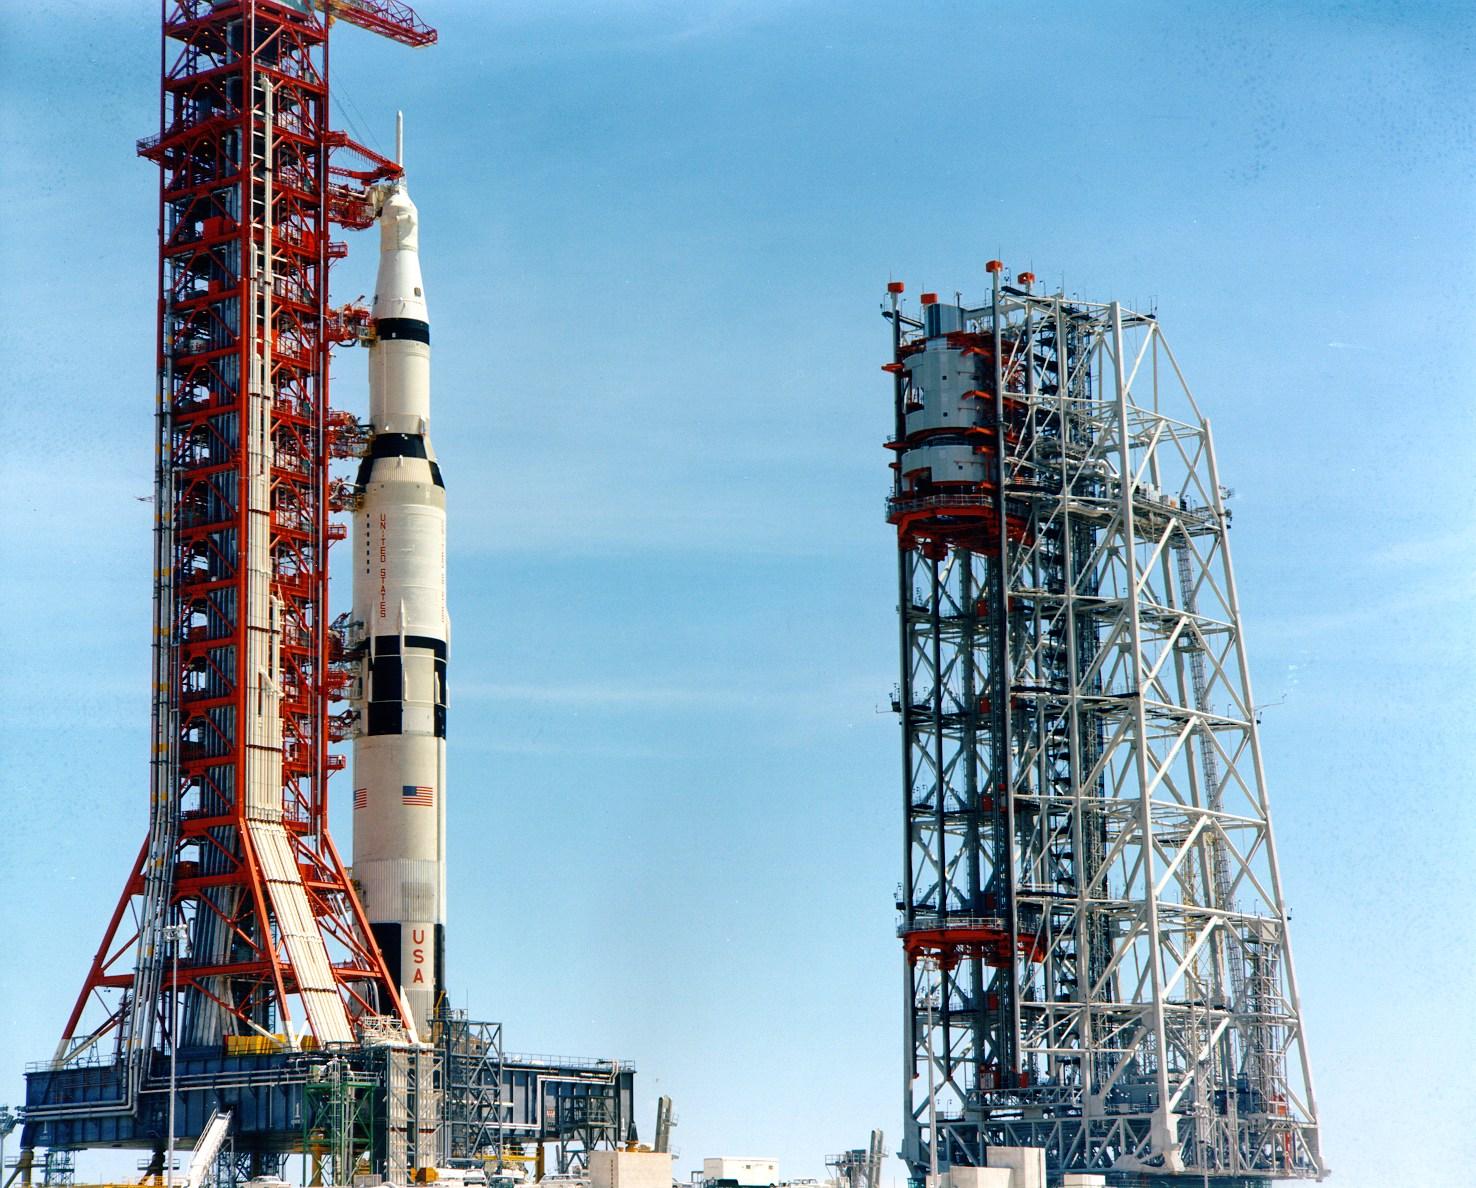
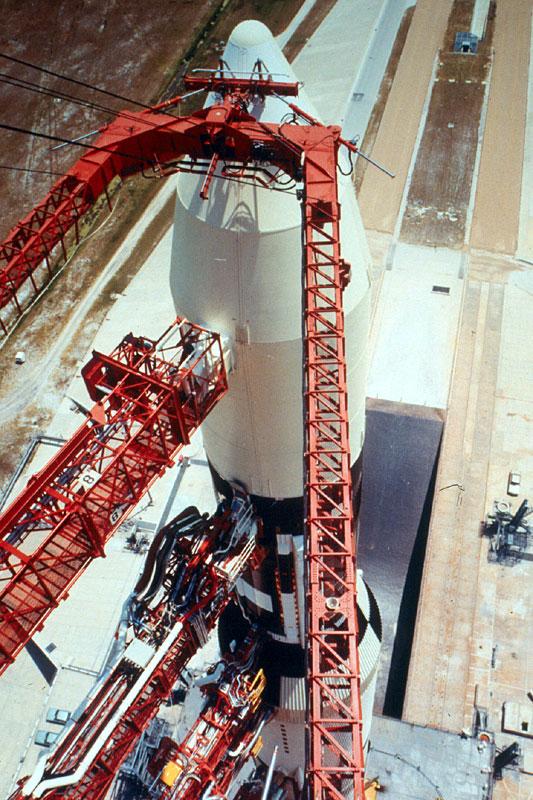
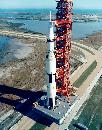
ready for launch
|
|
Apollo 11
astronauts board
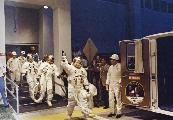
|
activity in
Mission Control
|
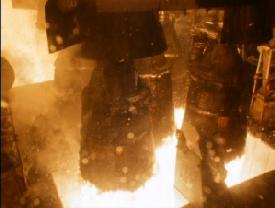
ignition
|
ignition
|
|

Saturn V liftoff
(Apollo 8), another awesome video -- this time from the LUT deck in
ultra-slow motion. You
have to see this to believe it, 7.6 million pounds of liquid-fueled thrust.
(full
AVI, 28.3 MB)
(trimmed
large WMV, 12.6 MB)
(trimmed
small WMV, 4.5 MB)
|
|

OK,
same shot, Apollo 11
(full
AVI, 60.1 MB)
(trimmed
large WMV, 32.0 MB)
(trimmed
small WMV, 12.0 MB)
|
OK,
even closer, Apollo 12
(full
AVI, 40.7 MB)
(trimmed
large WMV, 35.3 MB)
(trimmed
small WMV, 14.9 MB)
|
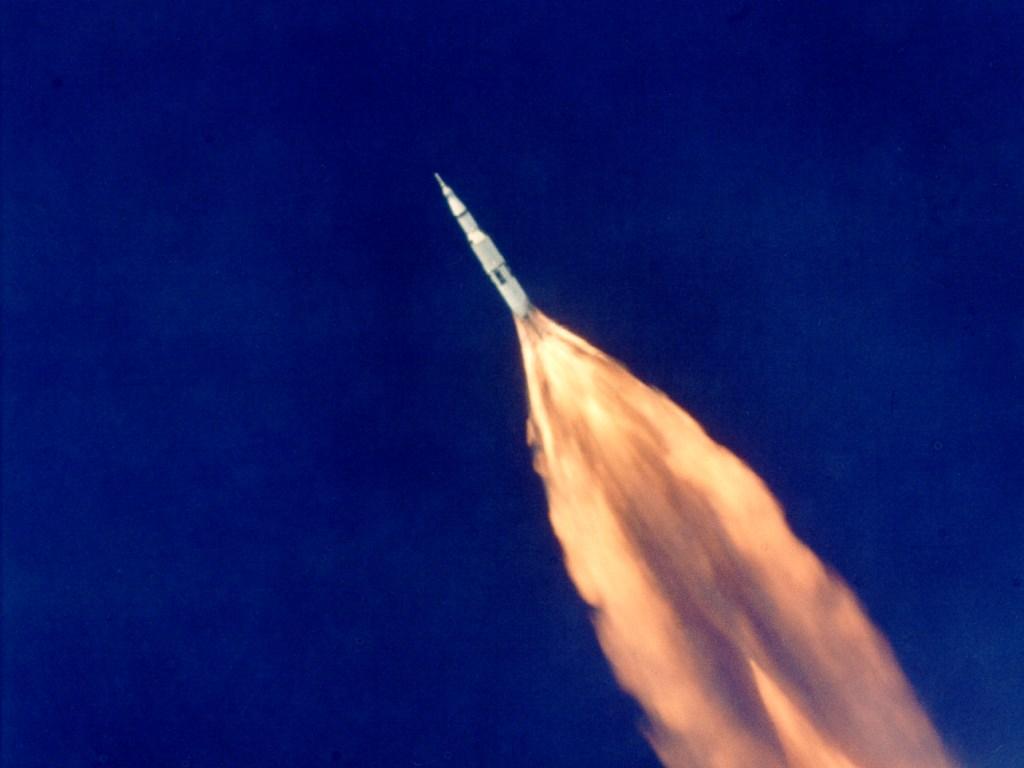
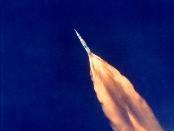
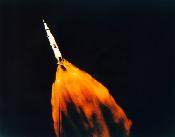
ascent,
low altitude (note flame trail is ~1000 feet long)

|
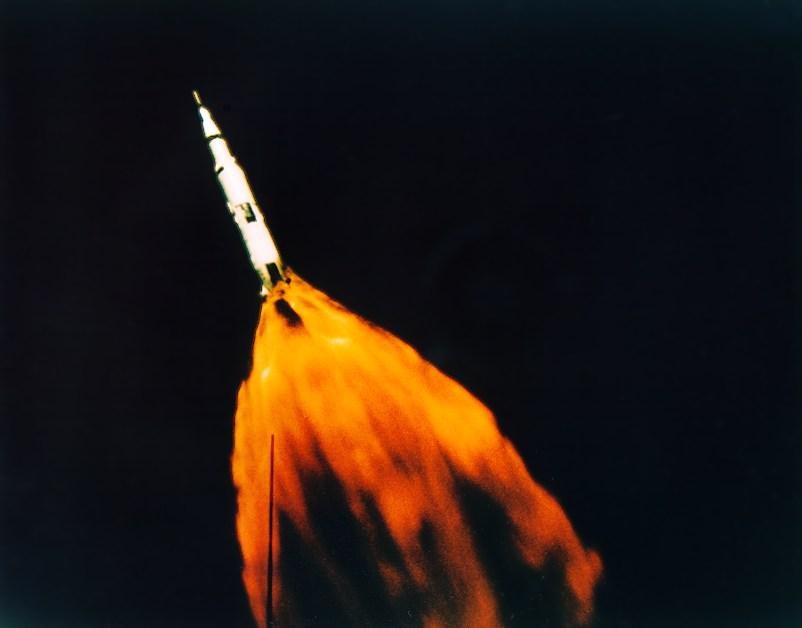
ascent,
mid-altitude
|
ascent, high
altitude
|
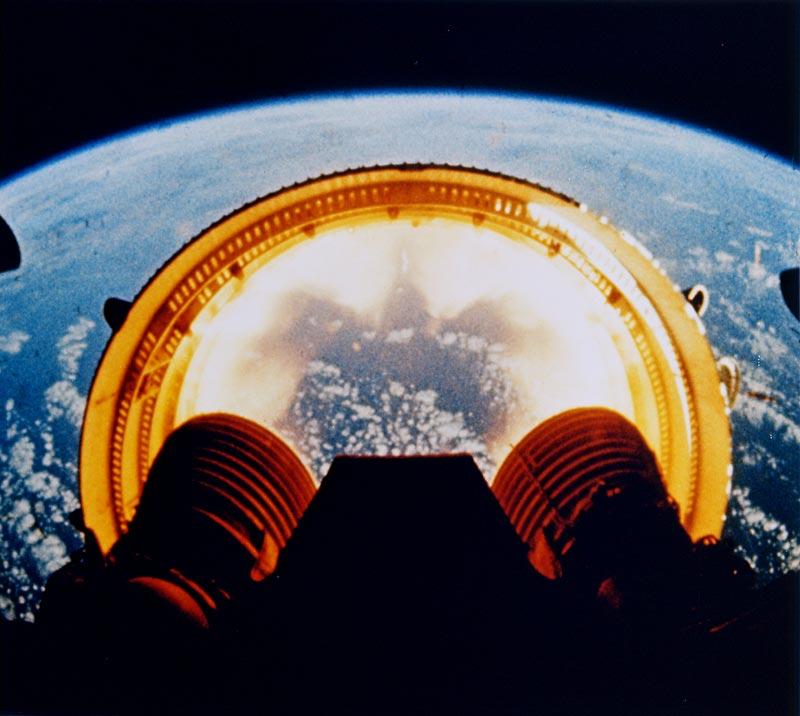
staging
|
|
staging
|
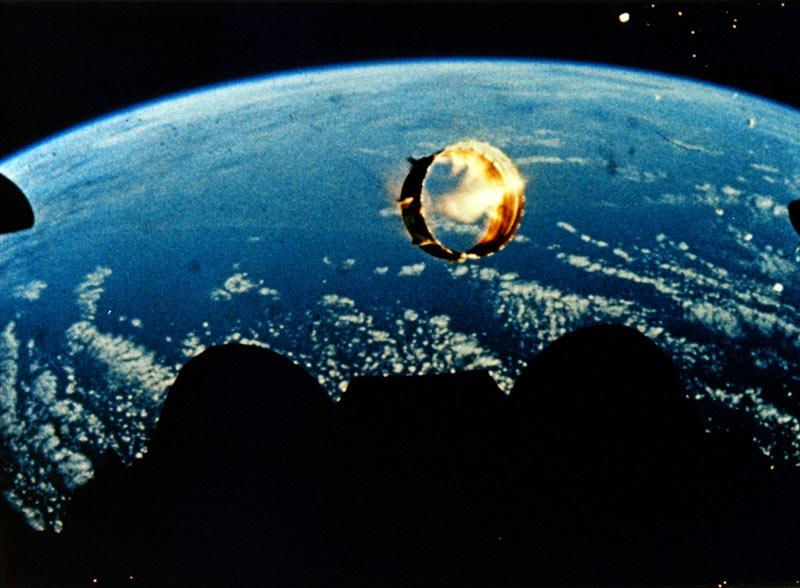
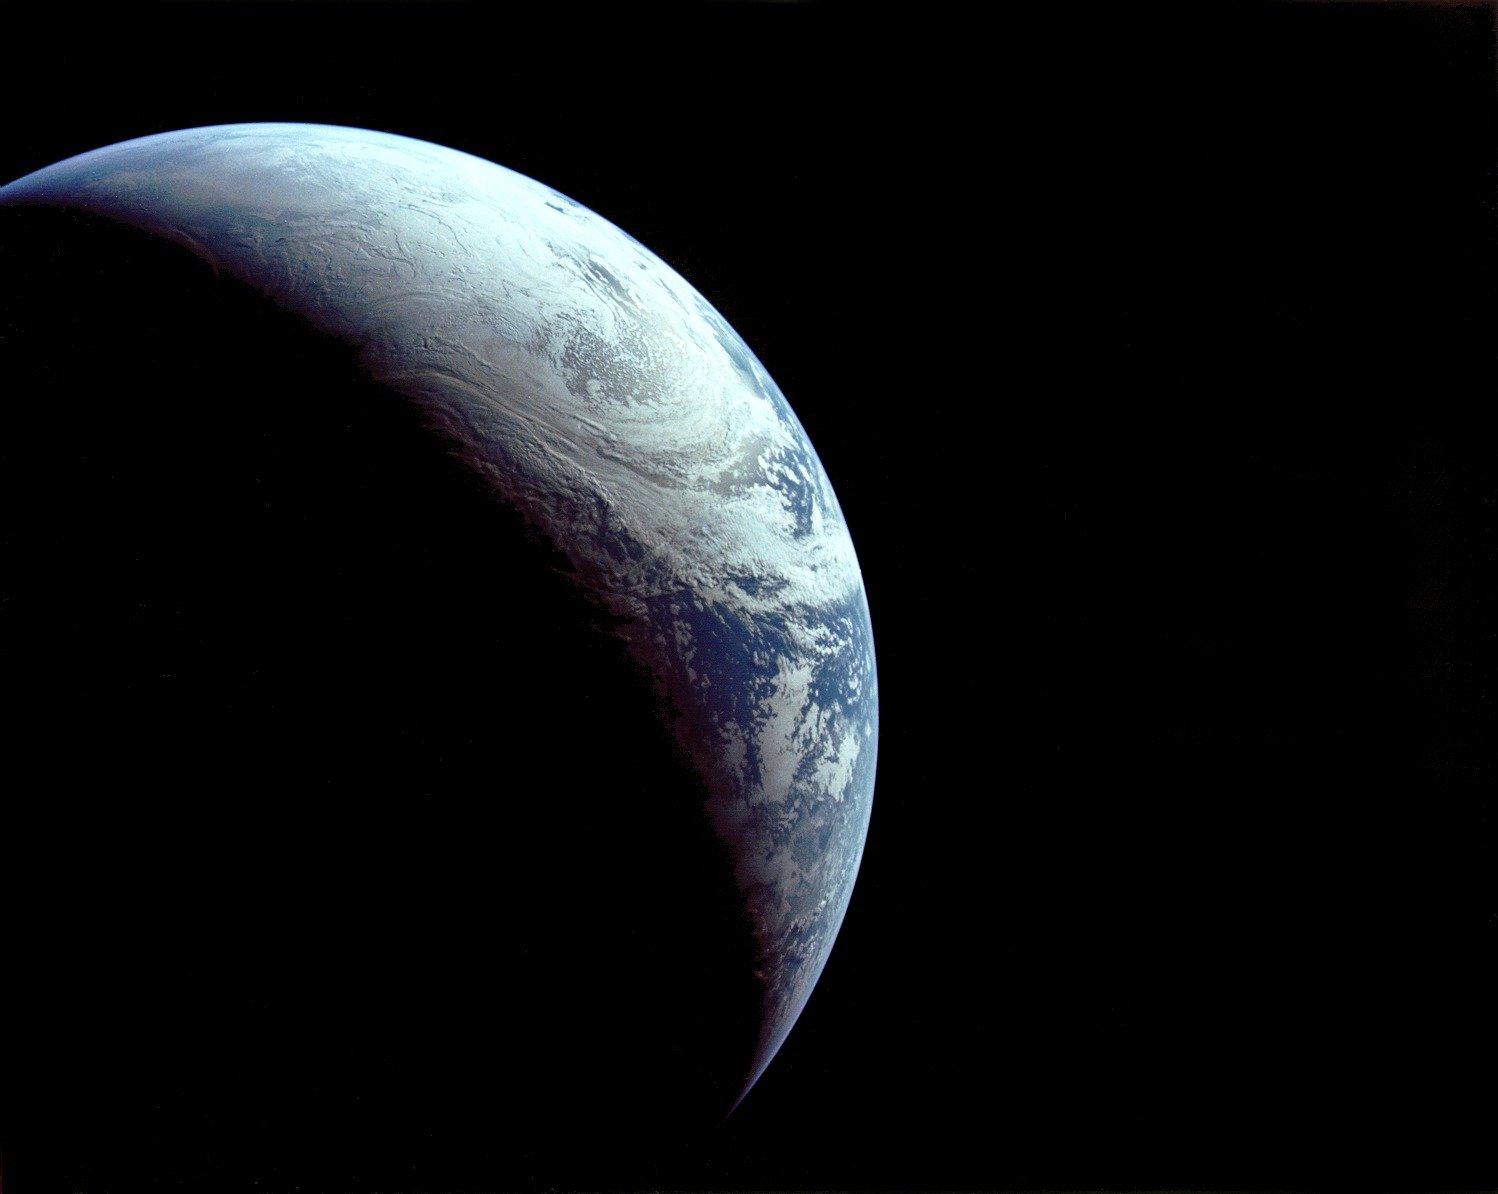
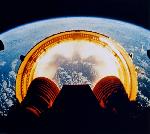
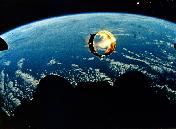
on
the way to the moon, looking back

|
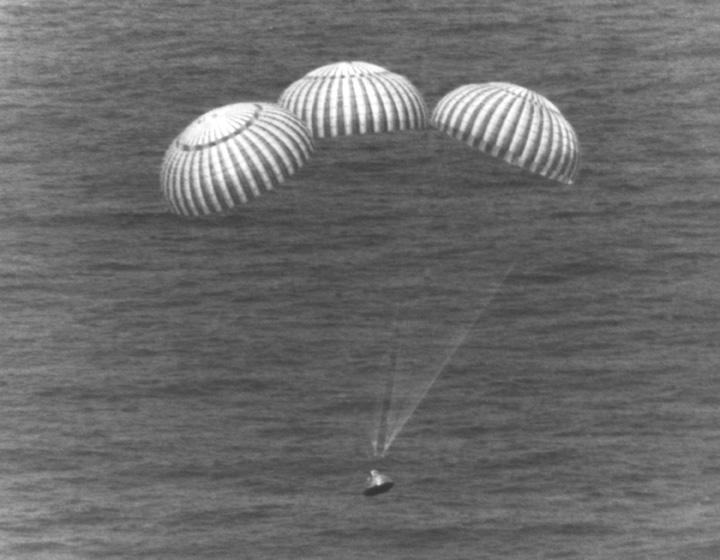
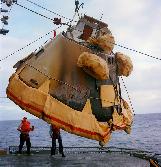
splashdown!

|
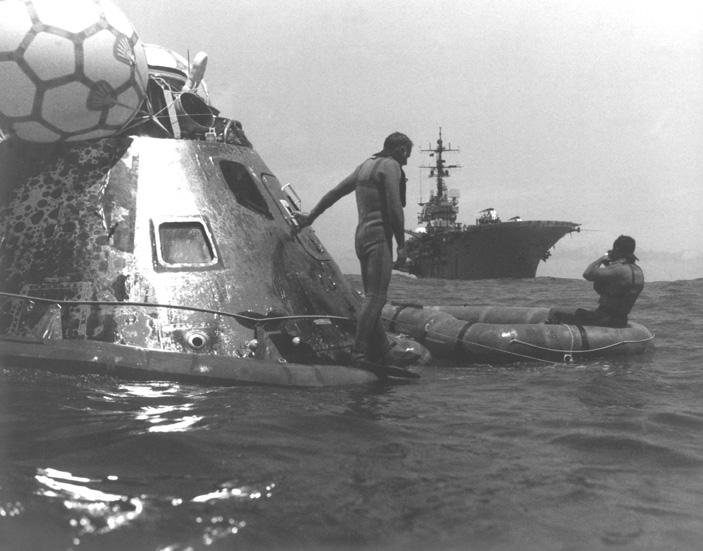
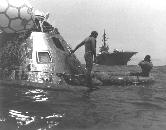
capsule recovery
|
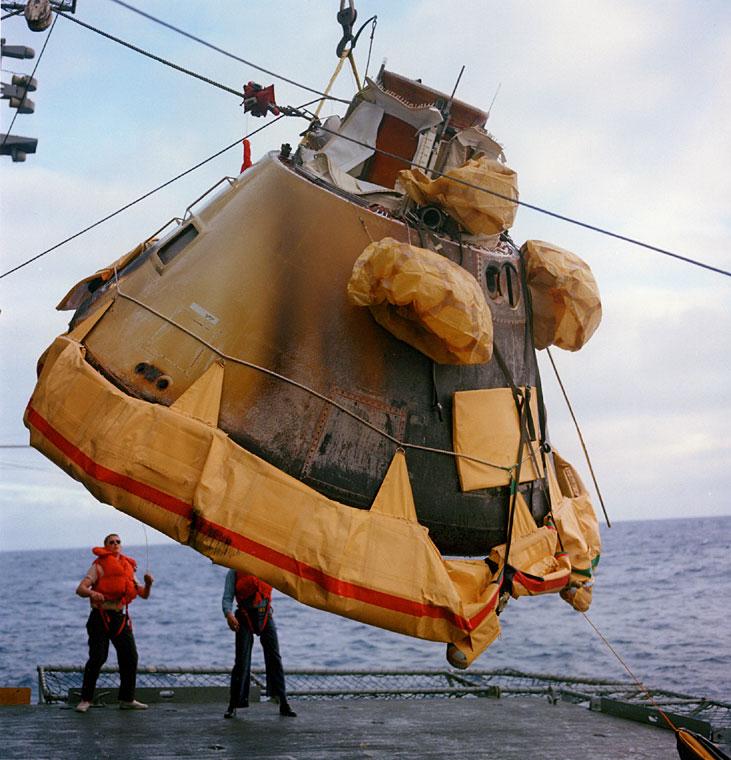
|
capsule recovery
|
|
|
|
post-Apollo... Skylab missions:
|
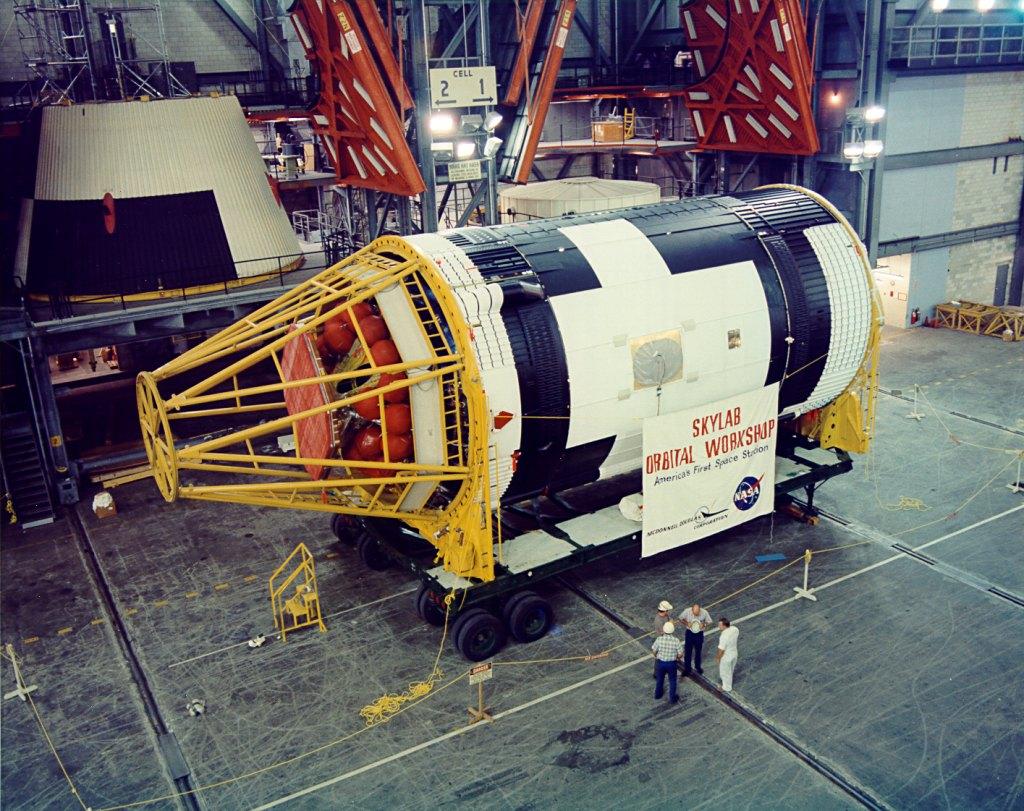
the Skylab
module
|
starting the
stackup
|
Skylab 1

|
Skylab 1

|
|
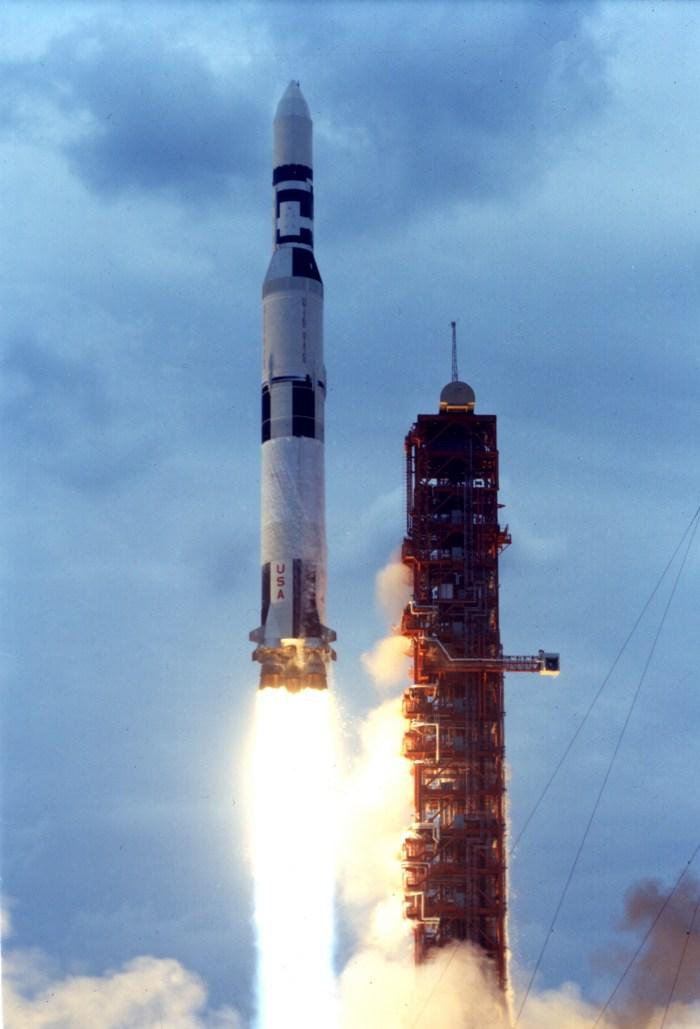
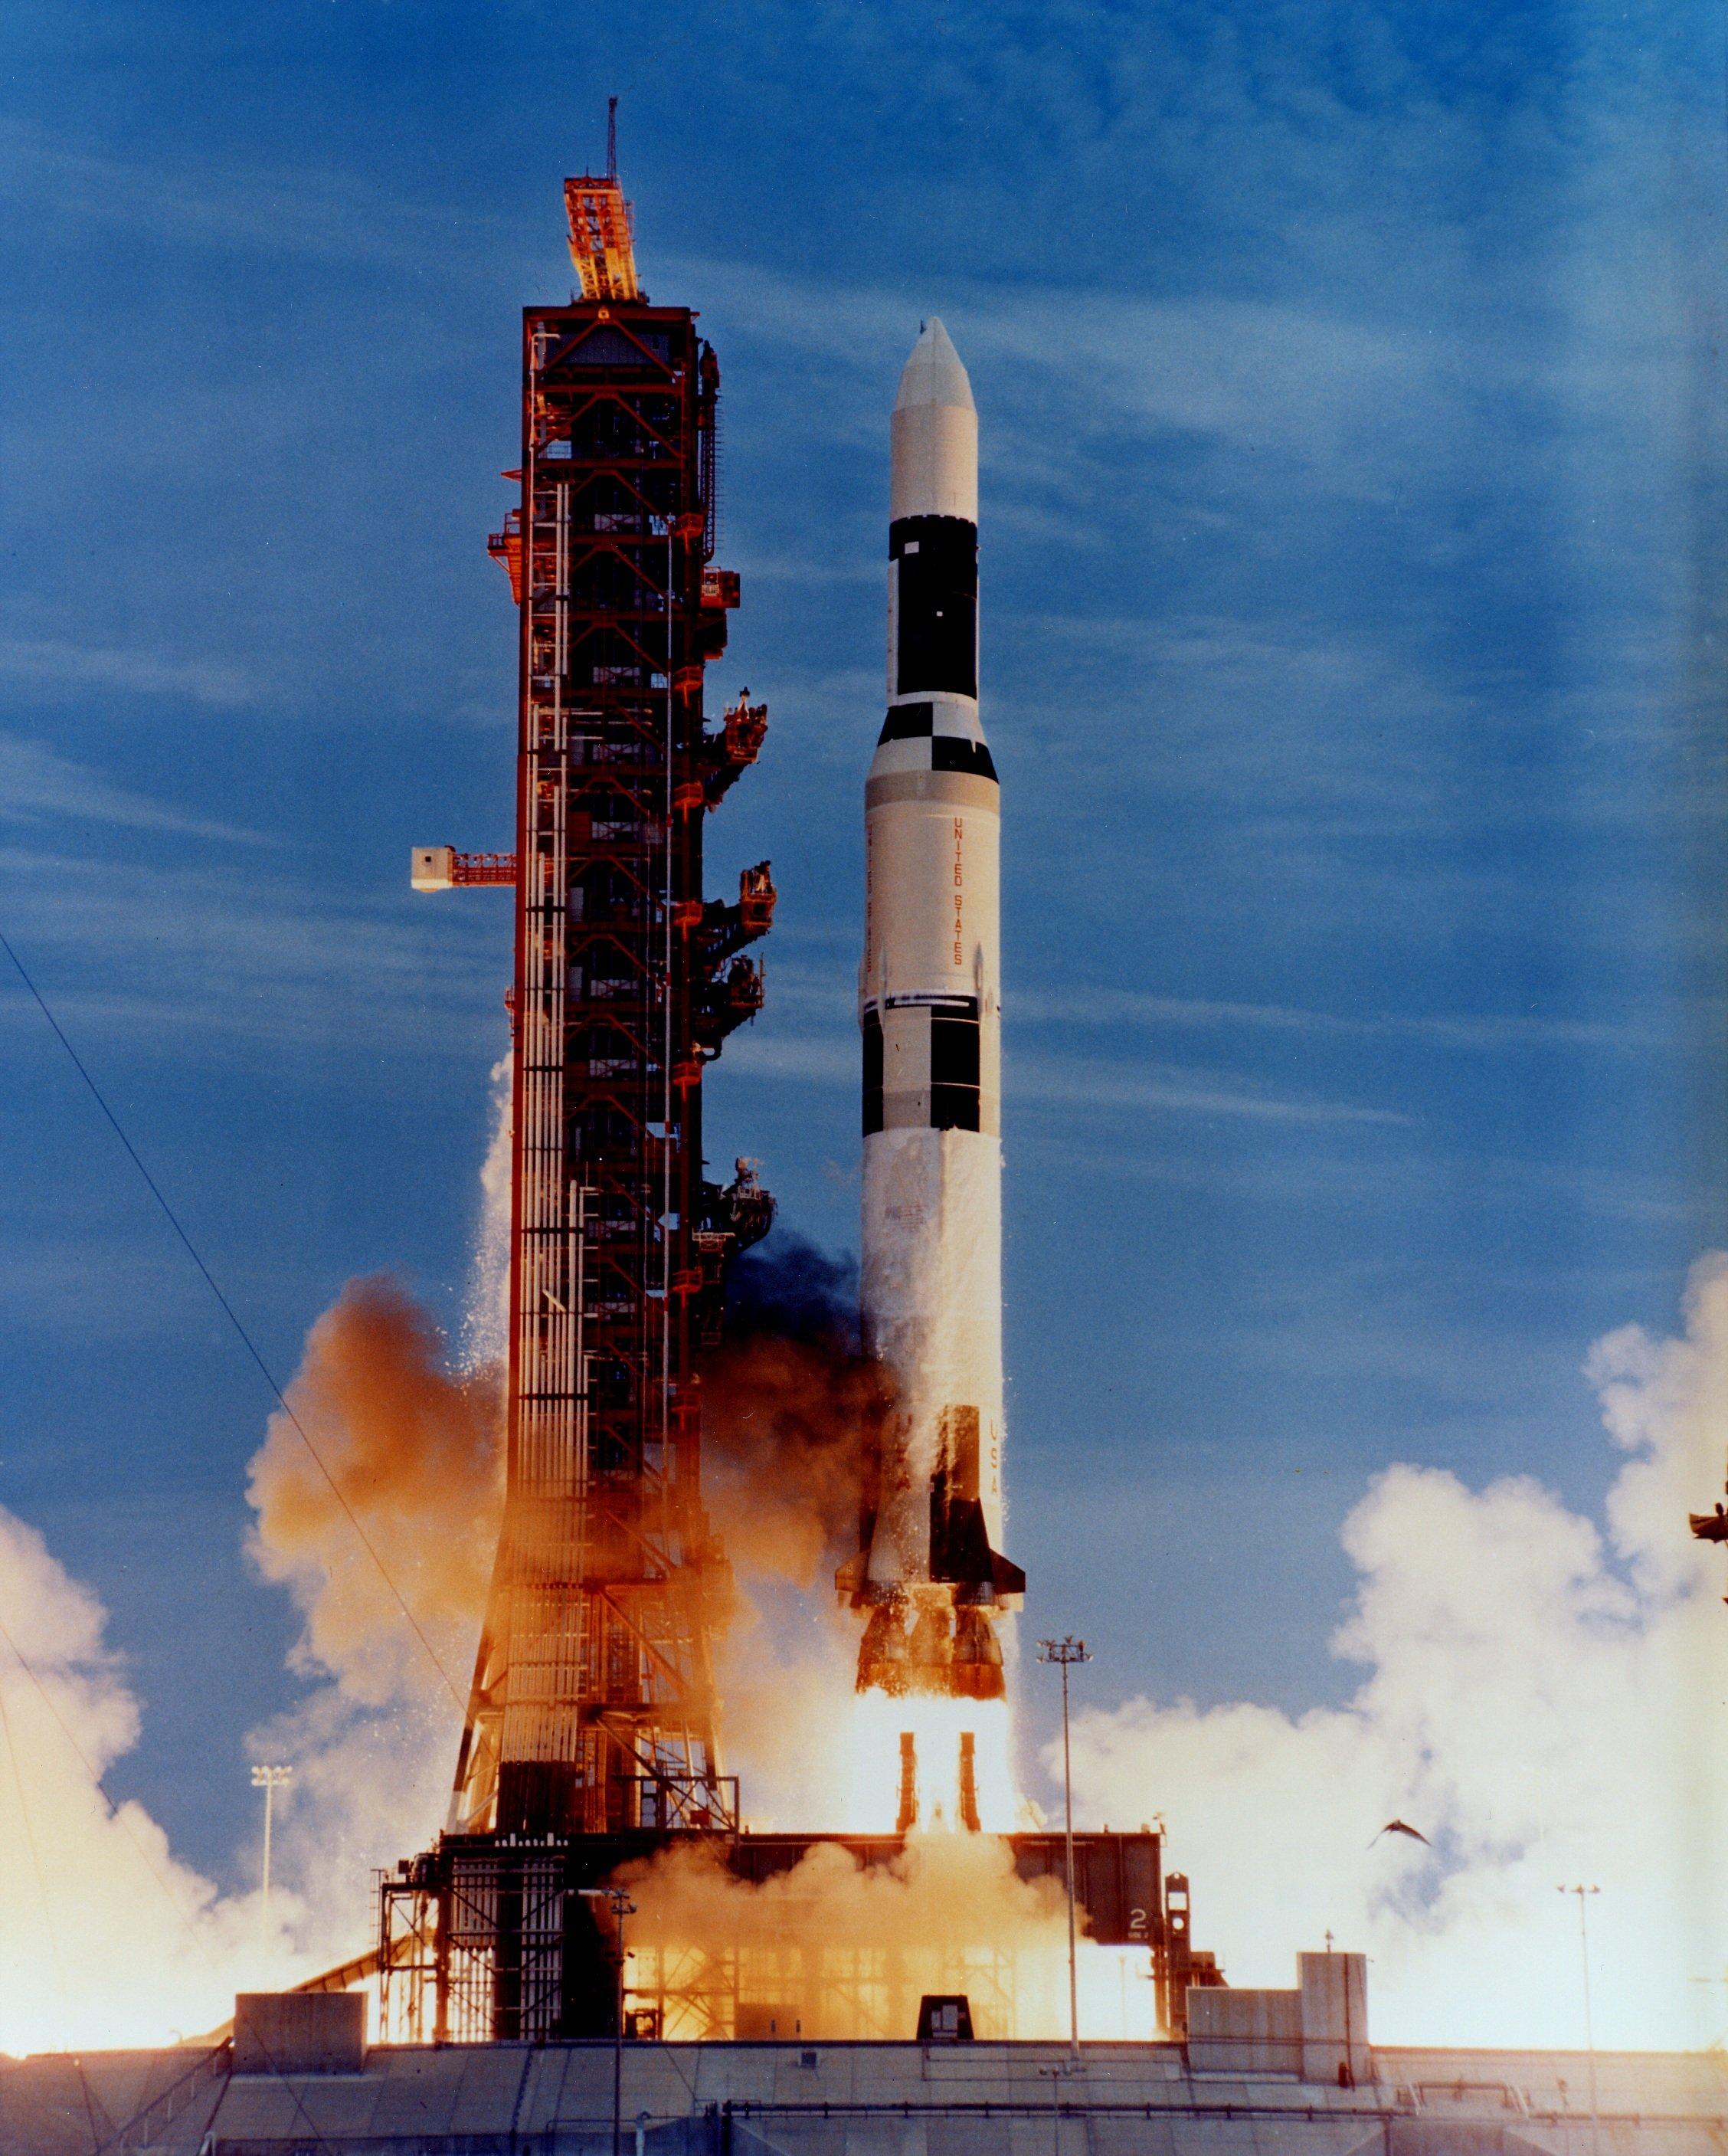
Skylab 1 launch
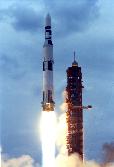
|
Skylab 1 launch

|
Skylab 1 launch
|
composite shot
|
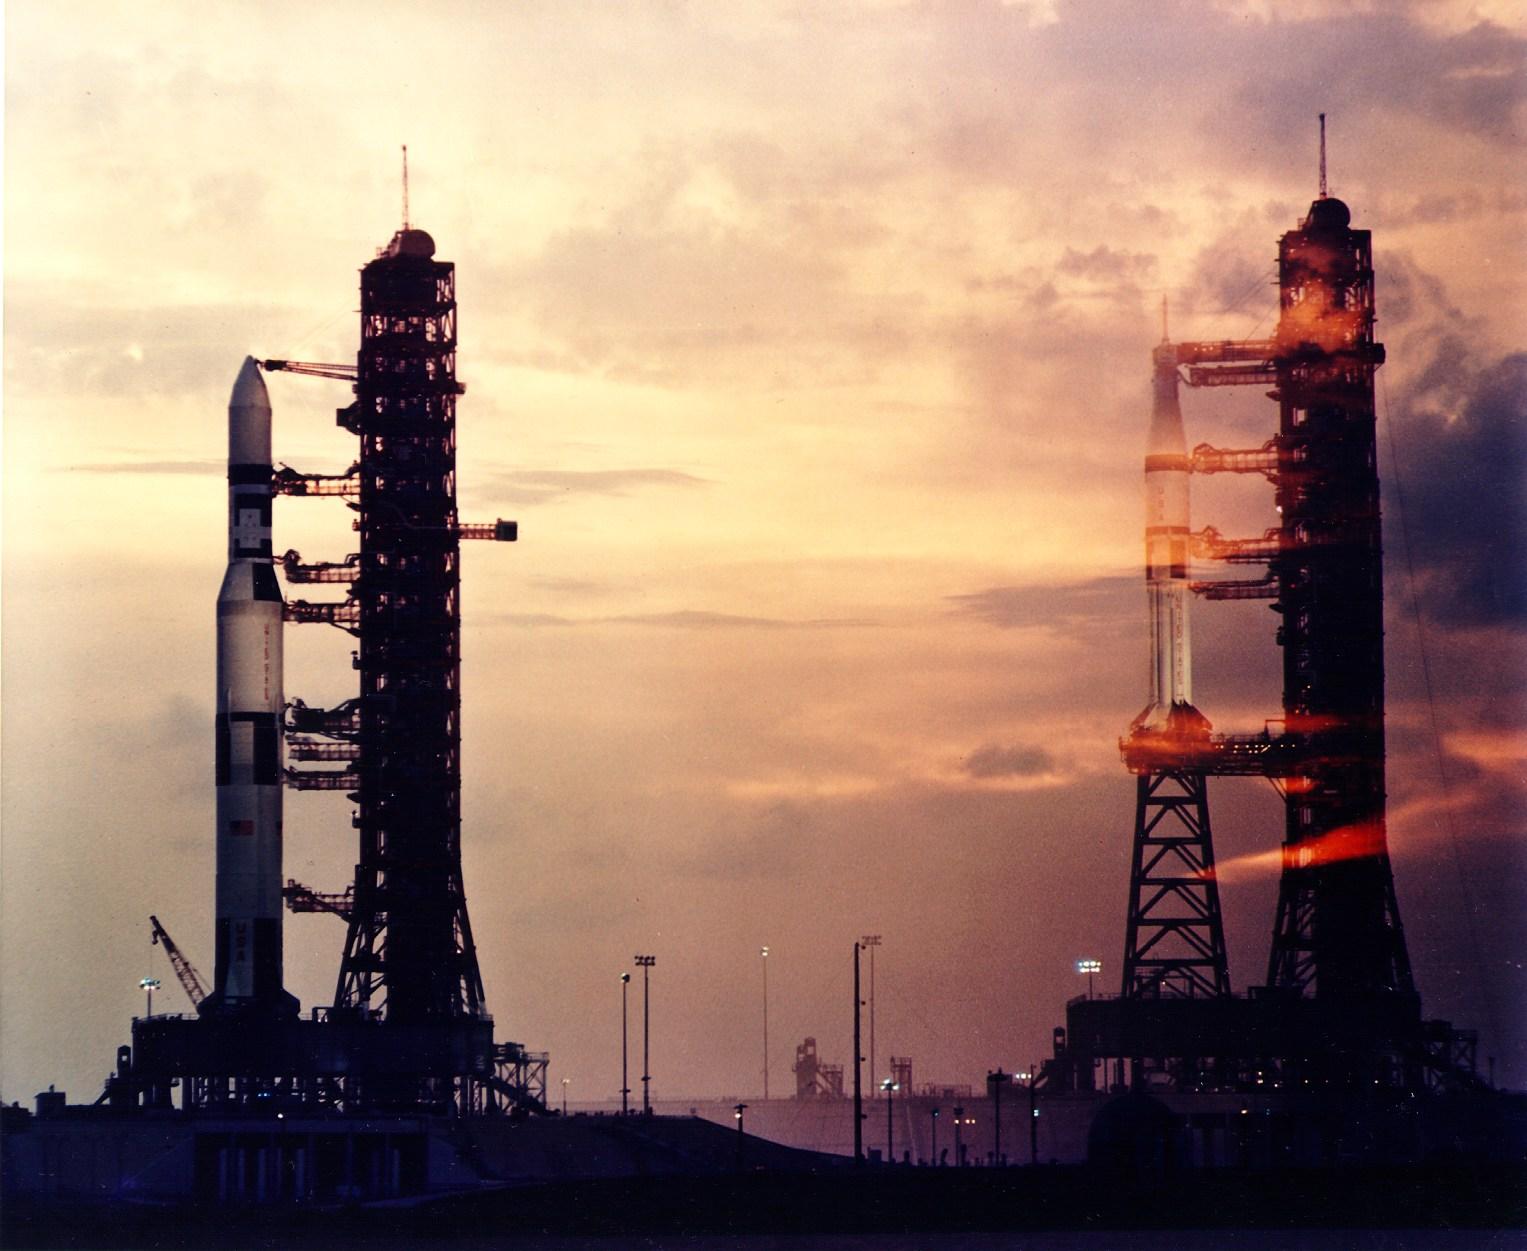
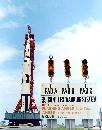
double-exposure,
Skylab 1 and subsequent (shortened) Skylab launches -- using the same
gantry via a "booster seat"

|
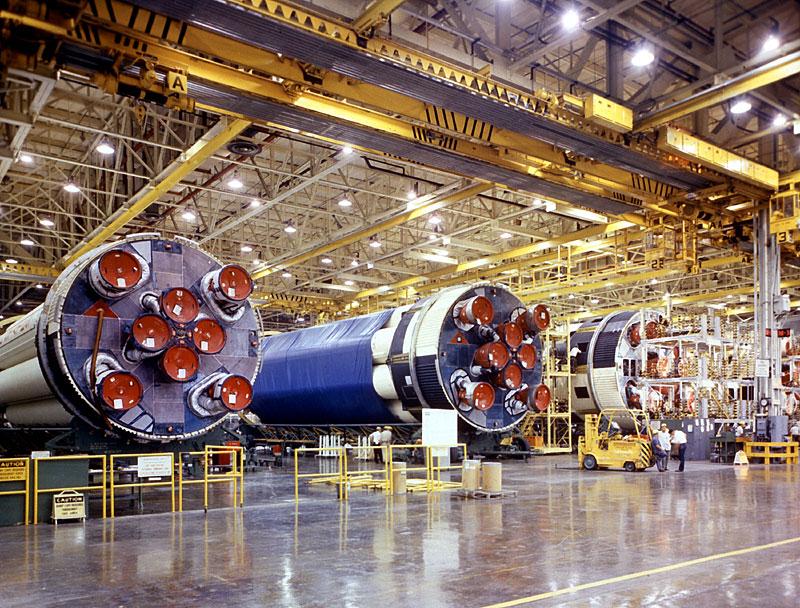
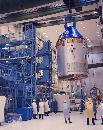
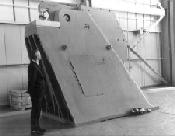
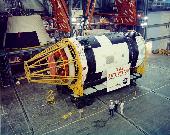
Saturn IB
booster in production
|
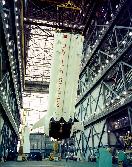
Saturn IB
booster being set to vertical, for stacking for a later Skylab launch
|
Saturn IB booster stackup
|
|
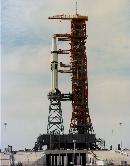
later Skylab on
pad
|
|
|
|
Report dead links to the webmaster.
This page was last updated on 07/16/08
.
|